Reply with Quote
Nice one, keen!
Made me have to start a Table Enclosure section on my enclosures page:
CNCCookbook: The Enclosure Zoo
Cheers,
BW


Keen, I really like that. would you share that design. Looks like it will keep coolant off my x-axiz home switch. I just might want to make it taller.
Nice one, keen!
Made me have to start a Table Enclosure section on my enclosures page:
CNCCookbook: The Enclosure Zoo
Cheers,
BW
Try G-Wizard Machinist's Calculator for free:
http://www.cnccookbook.com/CCGWizard.html
That is a real nice design, if I had not built a full enclosure I would definitely go that route.... sweet design!! Peace
Pete

I'll second that request to share. That looks very nicely done!Originally Posted by howecnc

@keen.
A good example of the comparison I was trying to decide on.... Dang it.. Now have to think some more.. I do know i have to have the sides higher than you show or I will throwing coolant/chips all over the place. Looks like my vise may actually sit higher than yours does. But I only that problem with a few tools, specifically face mills.
Keen, it looks like you did a great job of just what I was thinking about doing. I think I'm going to make a copy of yours. I like the bent plexiglass - it looks professional. What did you use for the side rails that receive the plexiglass?
This sort of table-based enclosure may also lend itself well to dust collection with a flexible roof of some sort, for use with wood milling, pcb routing or abrasive grinding. I've got a dust collection drop right over my mill already, waiting for this feature so I can make nasty stuff without fearing for my ways. I am curious to experiment with grinding full-form cutting tools with my 4th axis, but I Fear The Dust.
I'm going to also try reworking the coolant drainage in my stock pcnc1100 deluxe stand. I'm losing a lot of coolant to evaporation on the level stand top, so I might try building up that area with something like a fiberglass pan that slopes to the coolant hole, and comes up along the feet pads and enclosure sides high enough to keep coolant from getting underneath the pan. I like having my machine level, and would rather not tilt the whole stand for drainage. Has anybody else had success with improving coolant return, other than direct drainage hose routing from the table drains? ( I'm planning those too )
BTW, Tormach, these would be nice improvements to see to the deluxe stand design. More comprehensive table shields like Keen designed, and all coolant return paths should be adequately sloped for rapid drainage with a level base. Coolant level detection of some sort and a beefier coolant pump and a dual outlet manifold would also be nice. Otherwise, I'm glad I bought my deluxe stand instead of building my own - it's a good deal overall.
Drainage idea
When I switch over coolant from the paint eating stuff I am currently using. ( Monroe Astro-Cut synthetic ) To a more paint friendly variety. I will have to do a lot of paint removal and repainting, so my plan is to jack up the drain side of the base about a half an inch or so and then pour in some fiberglass resin until it just reaches the big square drain hole , let dry, and set it back down level. Now I will have a nice built in slope.
Thats the plan anyway...
Scott
www.sdmfabricating.com
They may already be working it. Look at the stand design for the 770, granted it is a different machine, but the stand has a sloped ramp under the machine and empties behind into the coolant pan. Take a look at the pictures and you can see it. That is why i was confused when everyone started suggesting I tilt my stand for drainage. It's not needed for 770 users.
http://www.tormach.com/document_libr...d_Assembly.pdf
I started down this path, but I do have a few parts that I need to machine that are oversize for my 770. It will havng over the front and back.
How do handle those parts for keeping the coolant in?
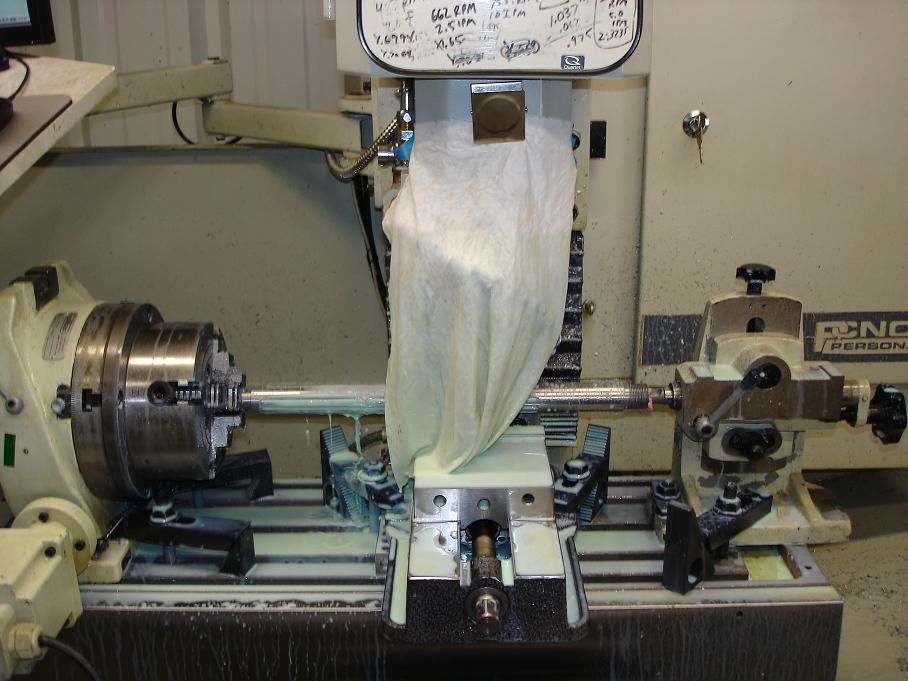
once i started this op i realized i was going to be constantly mopping the floor. i needed a hasty fix for it. this was quick and crude but it worked.
This part I need to make would probably be a bit long for the 1100 as well. I have some extra 8020, may make the front removable but have a second piece that mount in front just to deflect when I make that piece. Everything else would fit inside the bed.
AS an FYI.. This other piece is about 24IN long... Haven't decided on the width yet
On the way to making a full enclosure, here is my quick and dirty shower curtain approach. 6mill plastic held up with magnets. It works great.
Not a bad idea, I have magnets everywhere but never though of that!
I found clear sheet vinyl in various thickness at:
I bought a yard of the .030, they have it in .012 and .020 as well, I am still thinking about how to make mine, I am using a shower curtain around the head like in one of the earlier posts held on with HF magnets, this works well but I wanted something a bit more durable.
http://www.onlinefabricstore.net/vin...nyl-fabric.htm
mike sr
I did the same as Kevin. I spent a little more for a thicker curtain, and some nicer track, but still pretty inexpensive. I got everything from Curtain-Tracks.com.
My splash screen solution is to use clear soft vinyl (? clear and soft anyway) about 0.5mm thick, one sheet per side of the head fixed there with masking tape at the top and large enough cover from rear to front of the head and touching the table at the height I am presently working.
For the front splash guard I have a sheet of clear polycarbonate 1.5mm thick, positioned between the front of the Y bed and the deluxe stand, high enough to minimise risk of chips/coolant being splashed over the top, and a little longer the table.
When I need access to the splindle, vise etc, I fold the side sheets up and hold them there with a magnet. The front polycarbonate sheet I can slide around either end of the table and the ends of the deluxe tray.
It works fine, with only a few chips escaping, although the Tormach SuperFly cutter produces long curly chips that ricochet at all angles and with amazing range. The clear plastic lets me see what's happening, coolant permitting.
I have used this solution for about a year and the only thing I have had to replace is the masking tape (the long application painters type). Cost was about $60 for the polycarbonate, can't remember the soft plastic cost.
I tried the shower curtain way and it didn’t hold up well. Melted holes, tears, and it turns out messy looking really quickly when used everyday. The concept is good for an occasional user but my extruded enclosures with FRP panels ($10ea) cost $325.00 for everything per mill which isn’t too bad. This isn’t including doors which we haven’t installed yet not sure which cabinet will get what style of front doors a decision to make based on location in the shop.