Reply with Quote
For some reason you don't have any textures on the model? Hmm.. What video card do you have, and will it let you turn on "real view"?Originally Posted by PEU


Some of your files didn't have textures on it, maybe it was the 2007 conversion, mainly your blocks and rails were both a light purple color that i changed.
basically open up photoview 360, select an environment that makes the model look good then enter "render settings". Here you can adjust image settings. I have found that 1280x720 works good and doesn't take to long to render on "better quality". I use these settings to upload to the forum. If you want a really high definition rendering increase the render quality first and if you still dont see results, increase resolution. Just be prepared to wait a LONG time if you crank the settings up past better quality, and increase the resolution. I have a core I7 running @ 3.8ghz water cooled and 4gigs of DDR3 ram, linked to a Nvidia quadro FX580 so the renderings may take longer on other computers. I usually do a small 640x480 rendering on good quality first just to see if i like the angle, and everything is correct. Then i don't waste my time rendering something that looks like garbage! Do you have a solidworks approved workstation card? Quadro or Firepro? It helps a lot when your in solidworks! Then you can
This is the card i have:
http://www.newegg.com/Product/Produc...3273&Tpk=fx580
Attached is 2 pictures of just using realview in solidworks, it still looks amazing and its all realtime!
Let me know your pc specs and try and upload a image then i can shoot you some pointers!
For some reason you don't have any textures on the model? Hmm.. What video card do you have, and will it let you turn on "real view"?
Nvidia Geforce 8200, not the best, but not flimsy either
Now I found that I can assign custom surfaces to each piece, that maybe its the problem
● Distribuidor Syil en Argentina ● "www.syil.com.ar" ●
Ya try and see if that works!
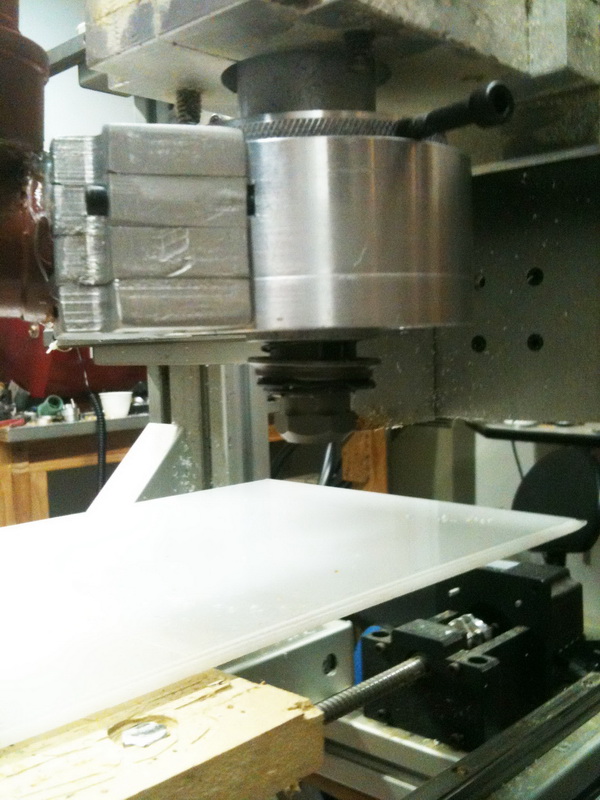
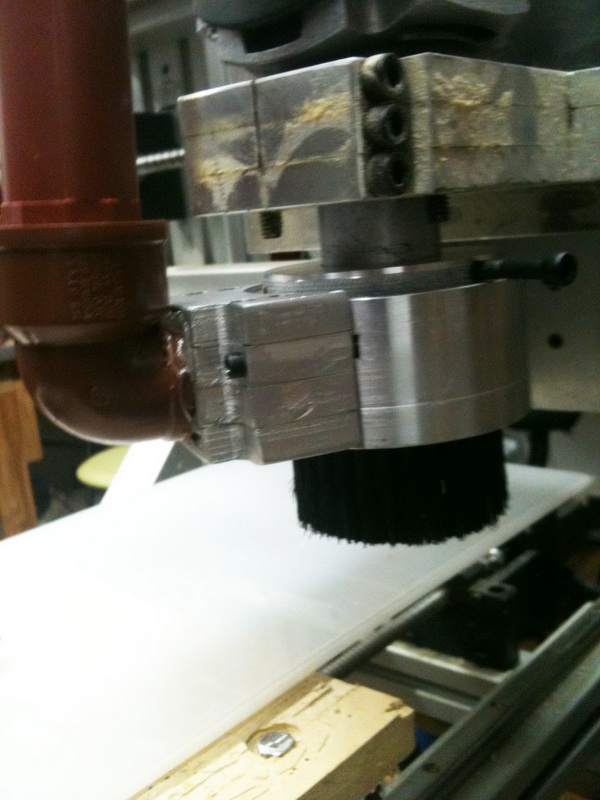
Today I finished a dust shoe for the router, I decided to make it after machining some sheets of acrylic... the whole office was a mess because the shavings attaches to everything.
Here is a photo essay of the parts:
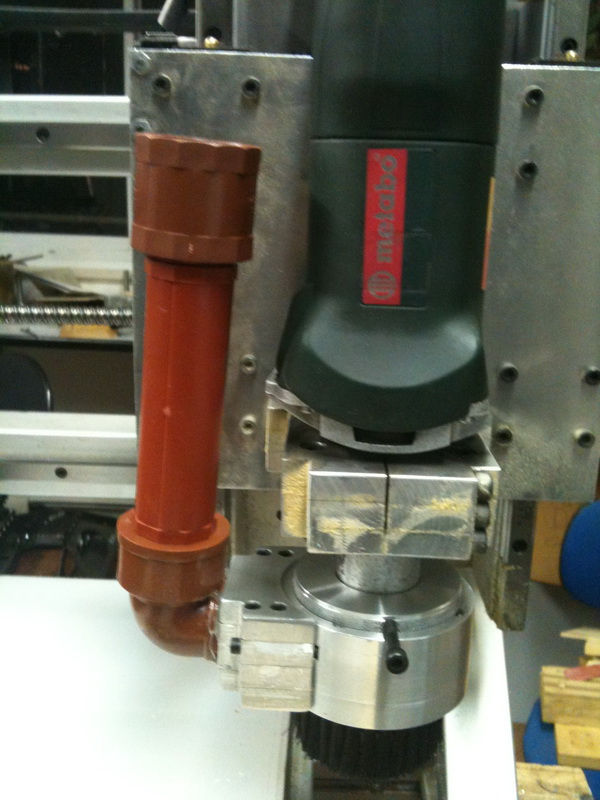
Shoe assembled, unlike other shoes, this one is axial, dust is vacuumed around the cutting tool. The radial allen bolt is used to fix the shoe to the Metabo
bottom side, you can see neodymium magnets to attach the bristle curtain
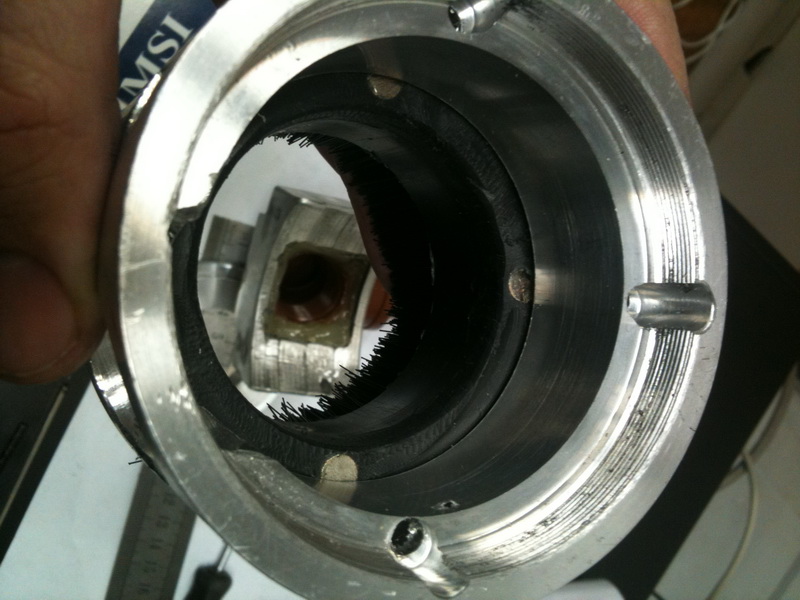
the hole was milled from the outside, then I dremelled it to provide a better path for the dust.
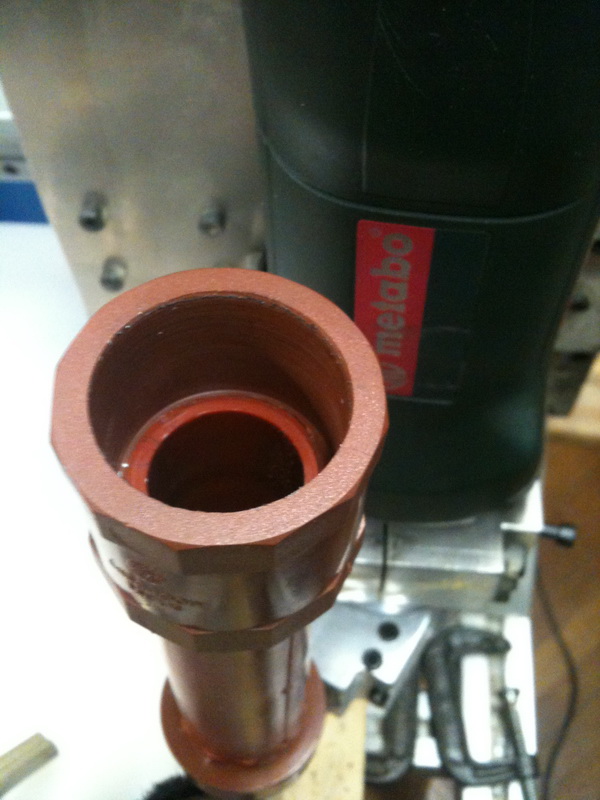
The top part is threaded to the shoe body, there is really no need for this, but I figured this when the shoe was almost finished
Views of the side attachment, I have a lot of 10mm sheets, so I did this part in 4 layers
Hotmelted from the inside
The threaded side, there is no real need for the holes, the piece I used of aluminum I used had these holes and I had to live with that.
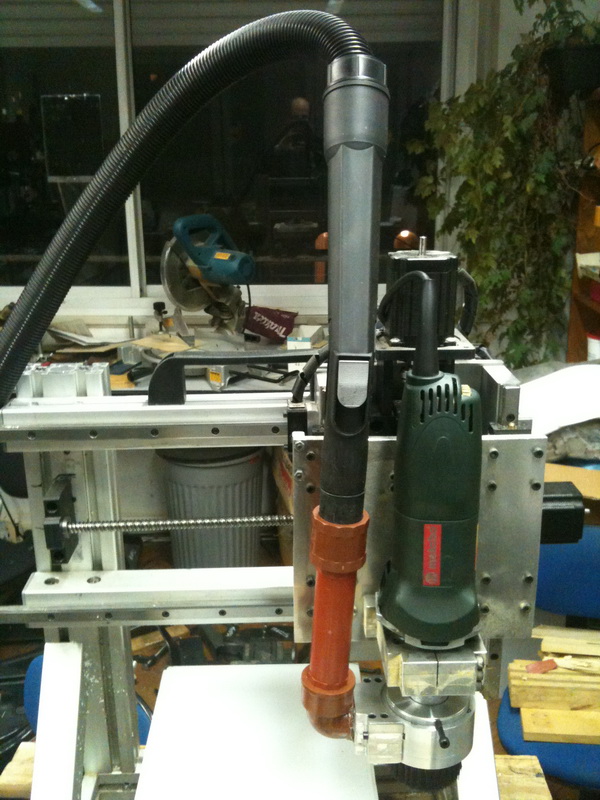
The shoe attached to the Metabo with and without the vacuum
Side view with and without the bristle curtain
Bored coupling in the lathe so the vacuum fits tightly
Tried it with the same sheet of acrylic and not a single shaving escaped, now I can work cleanly
Pablo
● Distribuidor Syil en Argentina ● "www.syil.com.ar" ●
Nice work Pablo! It's true that acrylics stick to everything due to the static build up... but I rather have acrylic shavings anytime over MDF. Have you cut MDF with one of those Porter Cable routers with a built-in fan? Talk about getting everywhere. I used to have to take my vac, reverse it and blow out my garage with a 6" hose. It's the only way to get rid of MDF powder.
Regards,
JR
Hola JR,
True, I use this router to machine mostly MDF, the only way I found to not make a mess was to be standing next to it with the vacuum following the head, this should be history now, at least MDF is less sticky than acrylic
The metabo grinder I use does not blow in the cutter direction so thats not a problem for me.
Regarding the shoe, the only mod I think I will do in the near term is some kind of bracing for the brown pipe so the joint with the alu attachment does not carry all the weight of the flexible tubes.
Pablo
● Distribuidor Syil en Argentina ● "www.syil.com.ar" ●
A small video of the dust shoe in action:
[nomedia="http://www.youtube.com/watch?v=jE69rdKwP2E"]YouTube- Axial Dust Shoe[/nomedia]
Pablo
● Distribuidor Syil en Argentina ● "www.syil.com.ar" ●
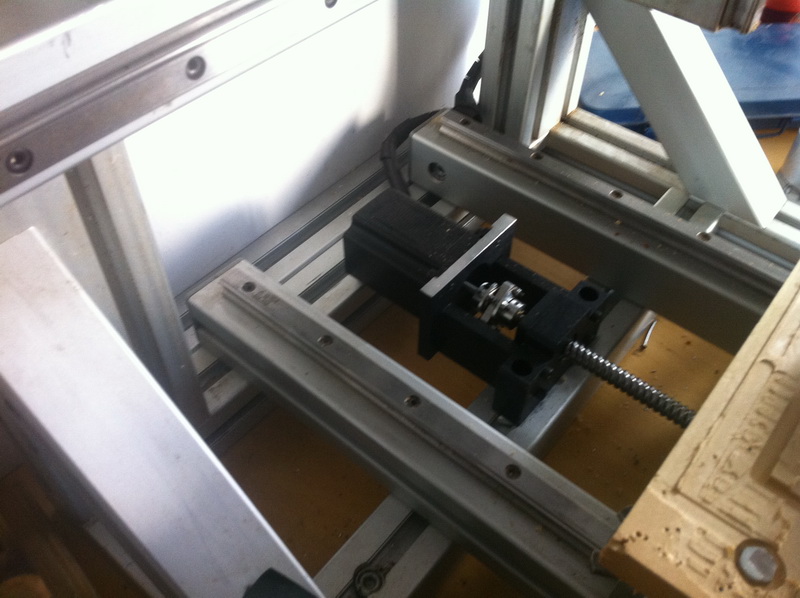
I did these updates time ago, but forgot to post pictures:
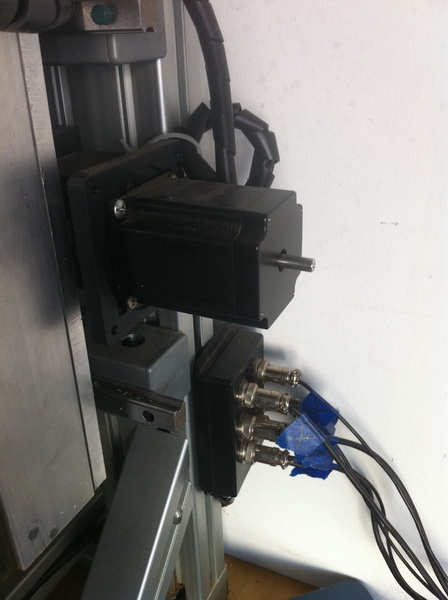
Moved the Y axis motor inside the frame, so the router now can be placed against a wall, I put a small piece of alu extrusion between the router and the wall but is not needed.
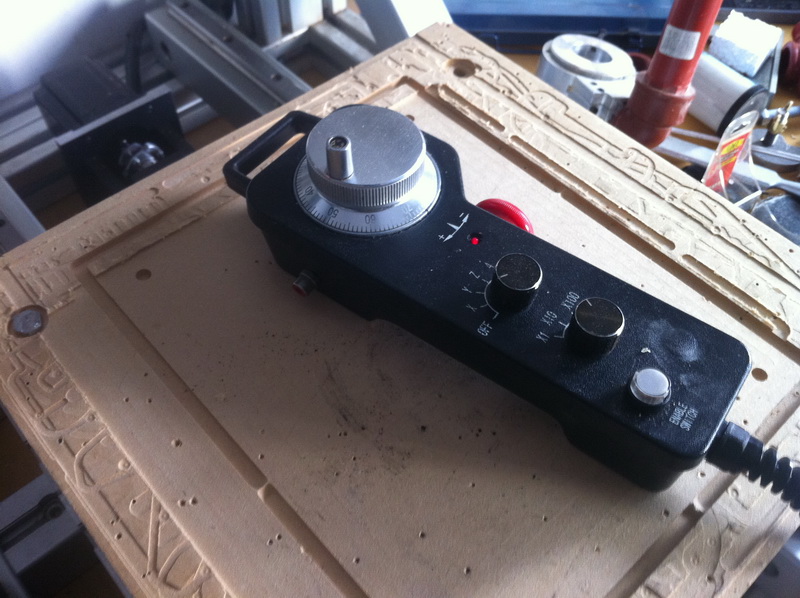
Once you go MPG you don't want to go back, a completelly new experience, if you ever considered it, buy it! you won't regret it
Detail of the router connection box
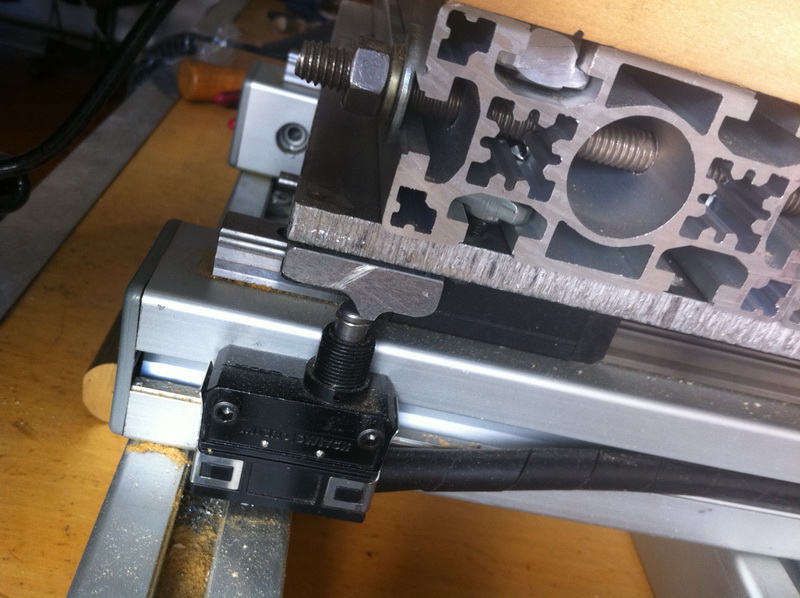
Detail of the Y axis limit switch
Pablo
● Distribuidor Syil en Argentina ● "www.syil.com.ar" ●
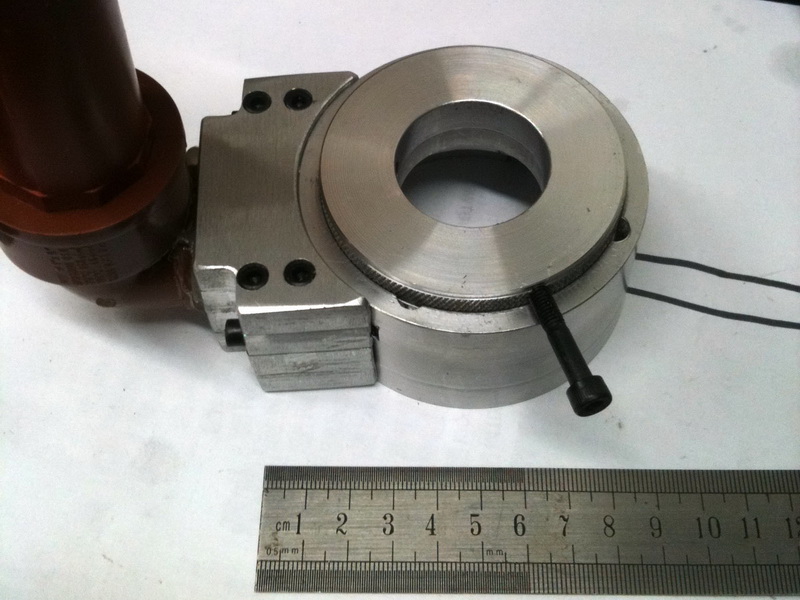
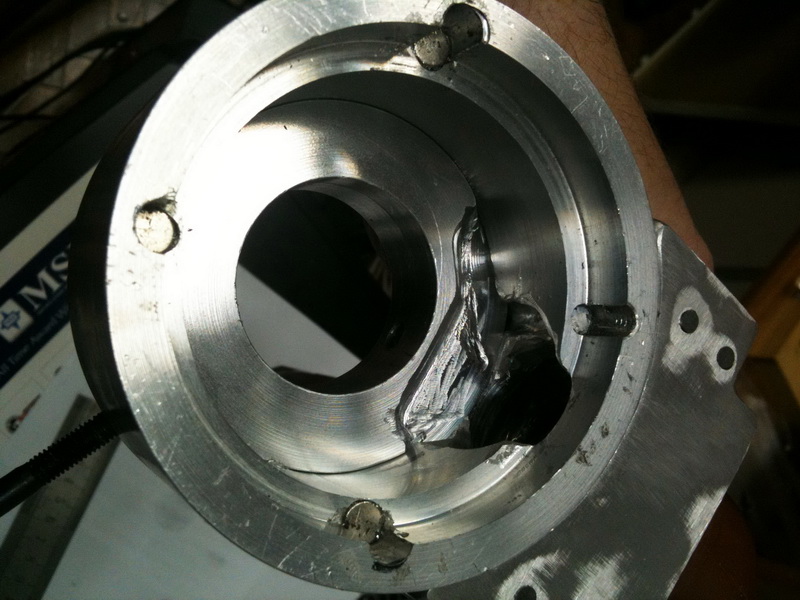
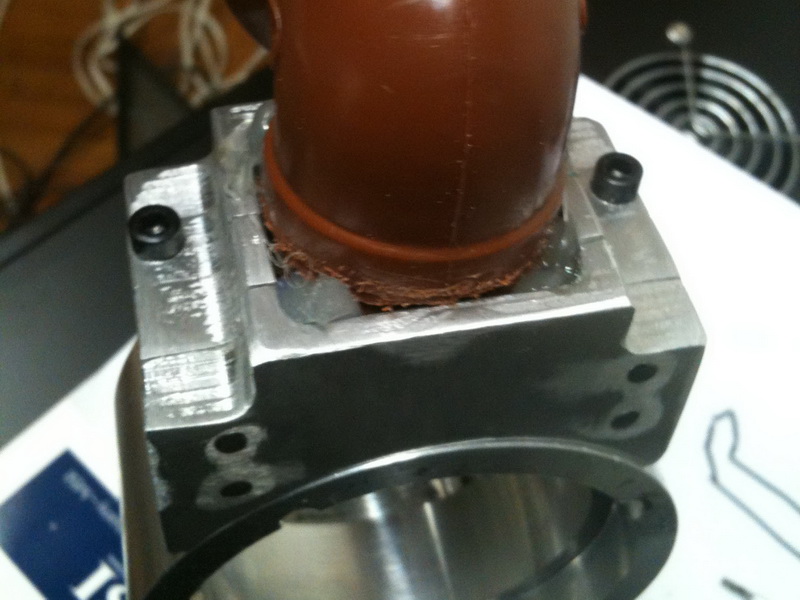
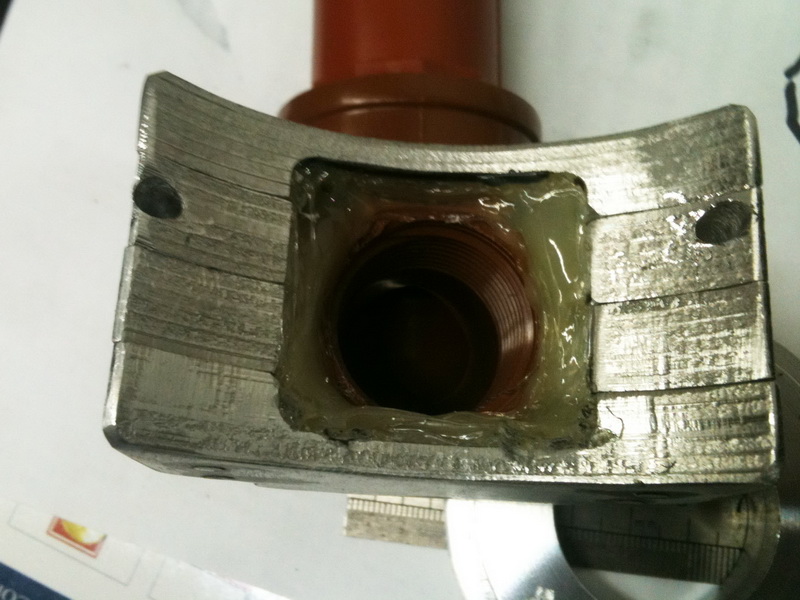
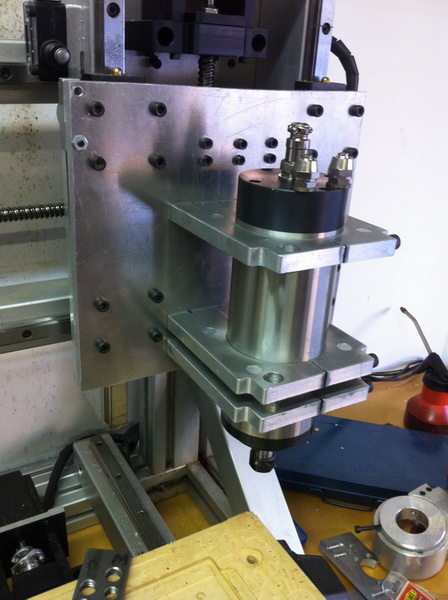
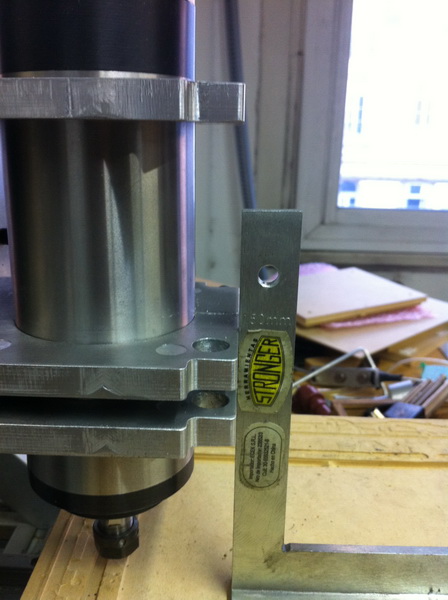
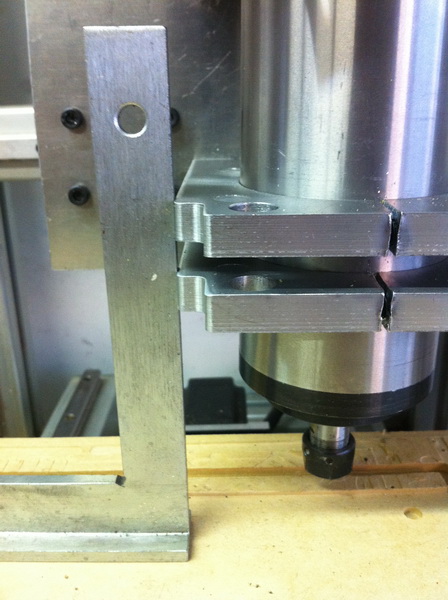
Today the router received a new update: bye bye Metabo Grinder, hello 0.8KW High Speed Spindle. Machined 3 pieces for the support on one of our Syil demo machines. To make the adjustment slot wide enough I used two blades side to side with the manual saw
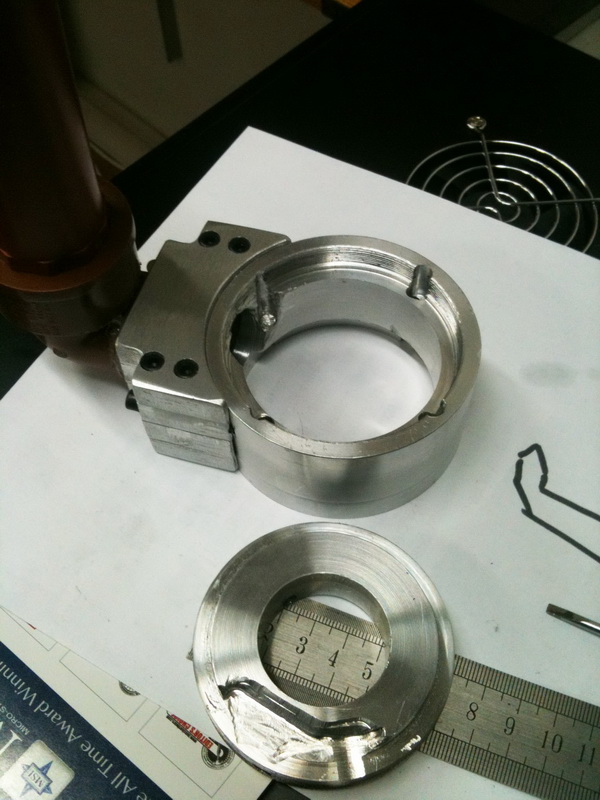
The spindle diameter is 65mm and I made the holes 65.05 its a snug fit, but with the help of a big flat screwdriver in the gaps the three pieces fitted and after that adjustment was a snap.
Some photos:
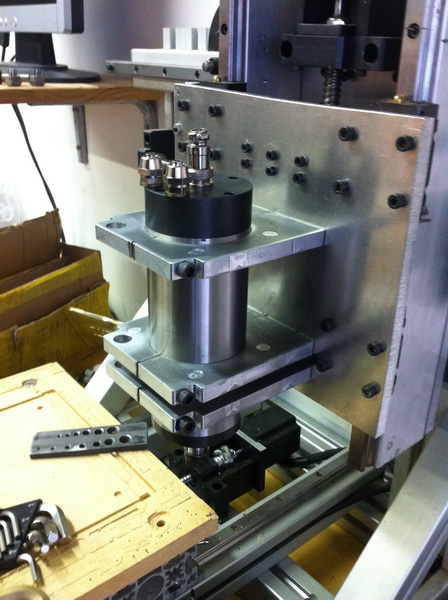
Checking perpendicularity in the Y axis
Same for X axis
Perfect!
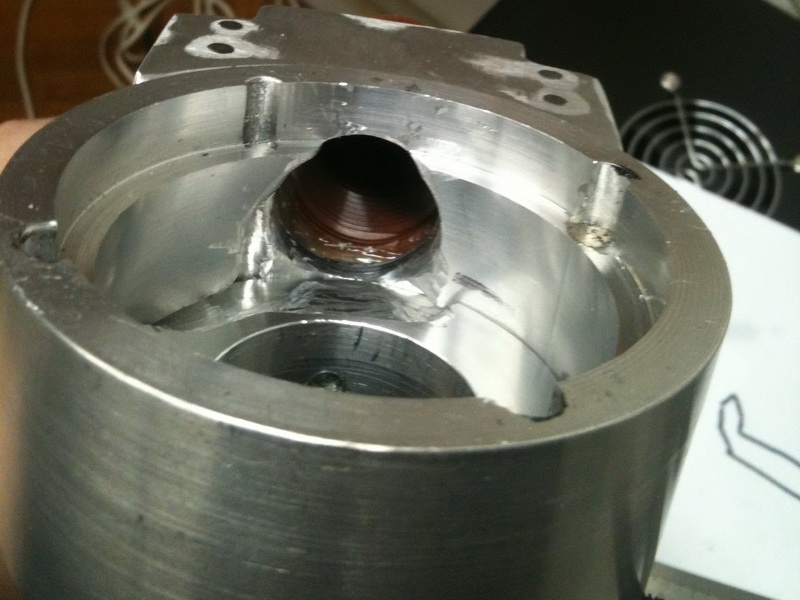
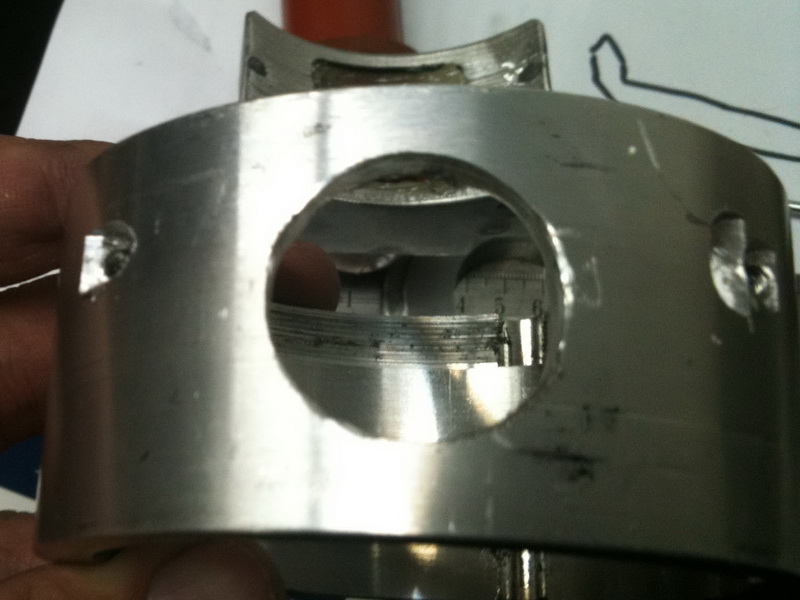
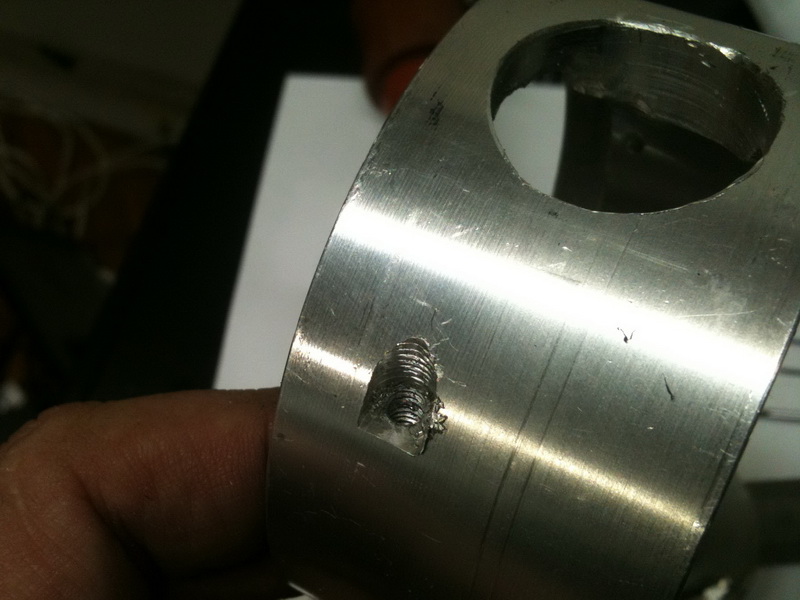
There is a hole near the front of the support, its there to use it for a laser crosshair, its center is at a known distance from the spindle center.
Tomorrow if time allows will hook up the VFD and the water pump. If someone wants the CAD file for the spindle support, just let me know, please no PMs
Pablo
● Distribuidor Syil en Argentina ● "www.syil.com.ar" ●
I like it! I cut mine in a sort of roundish shape around the spindle but square - and double at the bottom - seems more solid and transfers the load better to the base.
What are the specs on that spindle? Seeing it's water cooled, I bet it's fast.
JR
Hola JR, its a Chinese spindle from Chai (ebay: linearmotionbearings2008) I purchased just the spindle because I can find a vector drive VFD locally for less than $140, Its 0.8KW (1hp) 8000-24000 RPM. It uses ER11 collets, they range from 0.5mm to 7mm (I have a full set)
I had two reasons to do this, 1) the metabo bearings got dirt and the grinder had a hard time trying to move the axis, so before burning it I decommissioned it and 2) after playing a couple of hours with a Syil Speedmaster (it uses the same spindle) I was amazed by the low run-out compared to the metabo.
I was able to make small PCBs (with the Syil Speedmaster) with far better quality, and the reason was the low run-out spindle. I hope I can repeat the results with my router.
● Distribuidor Syil en Argentina ● "www.syil.com.ar" ●
Hey Pablo,
Yep, 0.005mm runout does it for me. The Metabo is an excellent tool but just not designed for super fine detail like that. The same thing happened to me when I switched from a Porter Cable router to my homemade spindle.
That is an excellent price for what you're getting and I'm sure it's nice and quiet too when compared to others. I have a couple of Precise high-speed spindles (~45K RPM) and those suckers are LOUD! That's mostly due to the use of brushes and a fan on the shaft. I can only do about 8K RPM with my spindle drive but it's very quiet and that's important to me when I'm standing in front of that machine for hours on end.
JR
Halftone machining
http://www.youtube.com/watch?v=op_tHMJI7FY]Mecanizado CNC de foto en Semitono - HD - YouTube
Pablo
● Distribuidor Syil en Argentina ● "www.syil.com.ar" ●
Great job and excellent machine!
Nice upggrade with the spindle - now you just need the dust collector again to sweep away the shavings.
Great 1/2 tone video - thanks for sharing.
Take care,
HarryN
New upgrade, Tooling plate!
Always start with a plan! Made a wood piece to test fit the idea
Standoffs for the current table:
Center punch every hole, all 301 of them! That's the CAD blueprint
Drill
Tapping with a tapmatic, thanks God my partners had this device in their arsenal of tools, all 301 holes were tapped in less than 2 hours, if you ever come across a cheap one at ebay don't let it go, this one is self reversing with torque adjust, amazing tool, really amazing! Look at the high tech torque arm support
The machine I used with the tapmatic, heavy and sturdy old french iron
Shimming! the drill press I have at the office does not have enough throat to make the second holes at the front standoffs.

Finished!
The plate is not dead flat, there is only 0.1mm (0.004") across the whole table between peaks and valleys, I can live with that, an extra standoff in the middle of the table could help improve this a little.
Pablo
● Distribuidor Syil en Argentina ● "www.syil.com.ar" ●
Man that table top looks nice. That table top would have been a disaster if I had tried. The only bad thing is your table top looks nicer than your machine. But that's a good problem to have.Good job.
Today I finished the clamping kit for the new tooling table:
And here is what I first machined with it:
The hardwood is Quebracho, it has natural inner crackings, you may see them if you look closely. It's a paper weight
Pablo
● Distribuidor Syil en Argentina ● "www.syil.com.ar" ●
Added eccentric clamping tools to my arsenal
http://www.youtube.com/watch?v=mVvrnekTYEs]Eccentric clamp - YouTube
Details
1/4" (6.35mm) 20tpi screws
head turned to 8mm diameter
Eccentricity is 1mm on the diameter
Nut big hole is 8.75mm
Lip hole is 6.5mm
Pablo
● Distribuidor Syil en Argentina ● "www.syil.com.ar" ●
 Posting Permissions