


 Reply with Quote
Thanks Dave and Bob,
So Bob you being in FA you won't be able to pick up your machine. That was great for me to do. We here also have had a hot summer but was late like early July after a cpld and wet spring. Great out today as just fimish cutting the grass.
Will
 [/IMG]

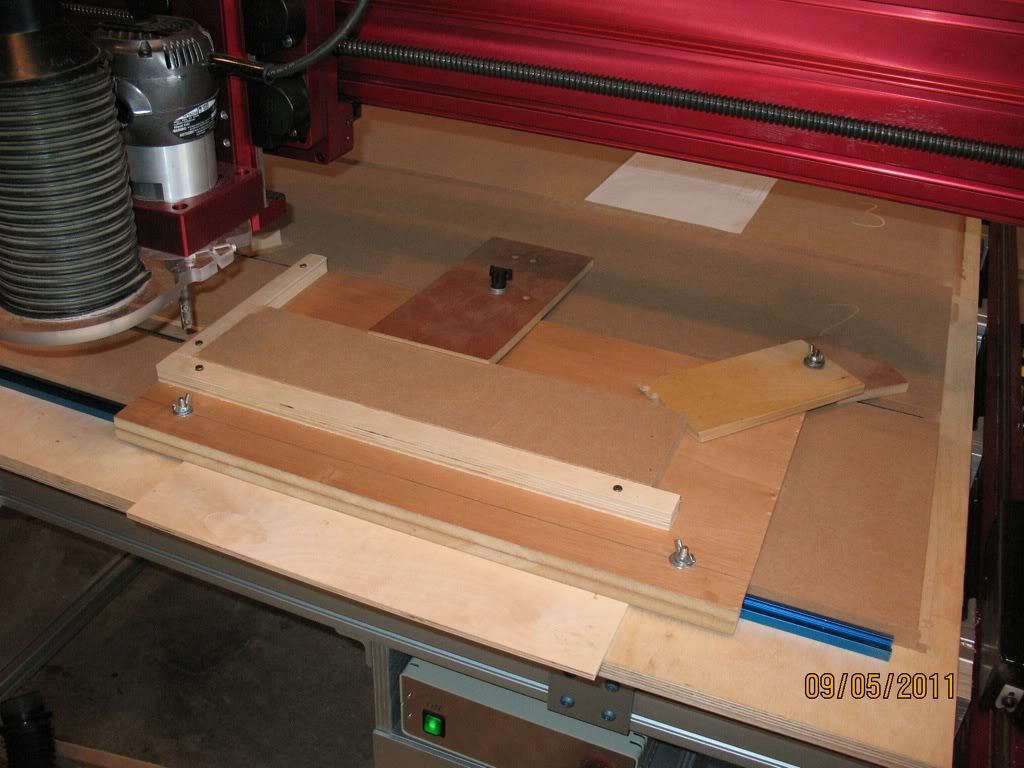
 and will get t tracks on Thursday I hope. Need more fine tuning as the circle in the push block was not round. I made the g code in Cut2d and know some people have had problems. Any ideas anyone? I did not import it as a Mach file but as a tap inch file. Changed the setting in general config but still had problems.
 [/IMG]
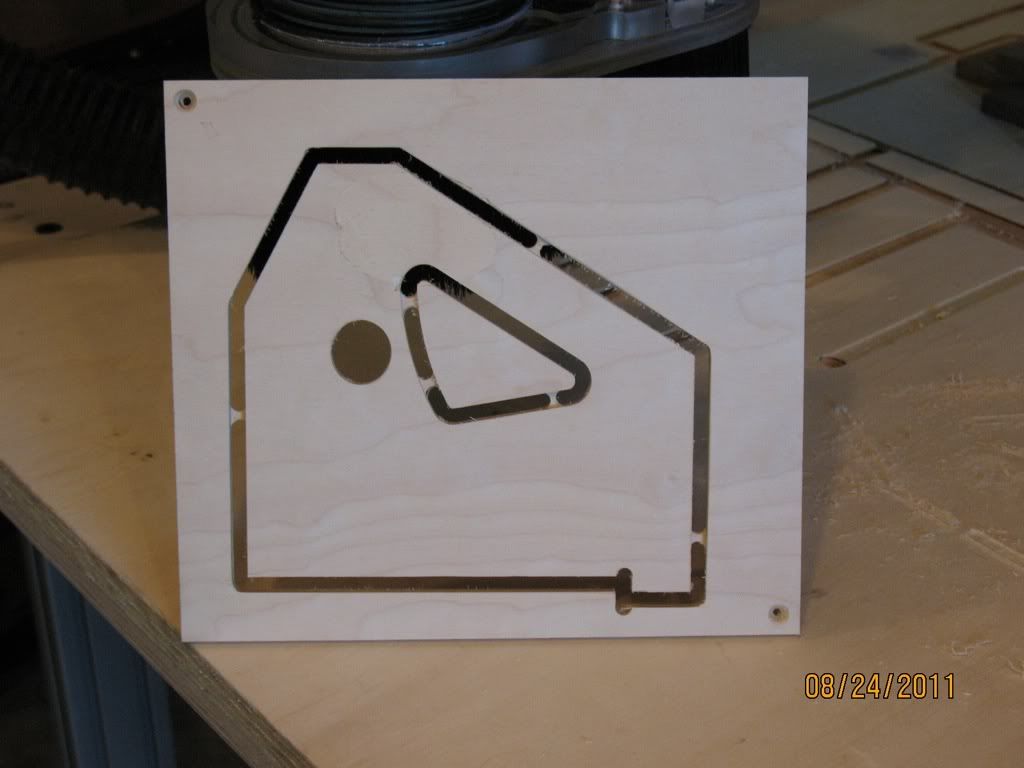 [/IMG]
 [/IMG]
 [/IMG]
 [/IMG]
 [/IMG]
 [/IMG]
 [/IMG]

 [/IMG]
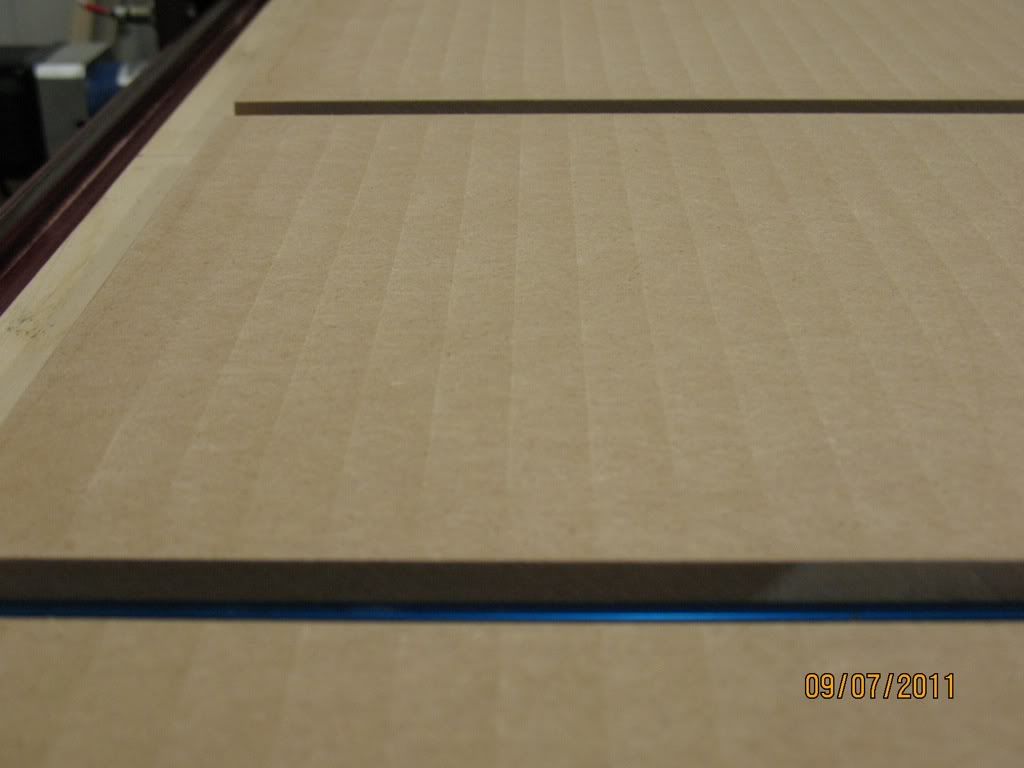 [/IMG]
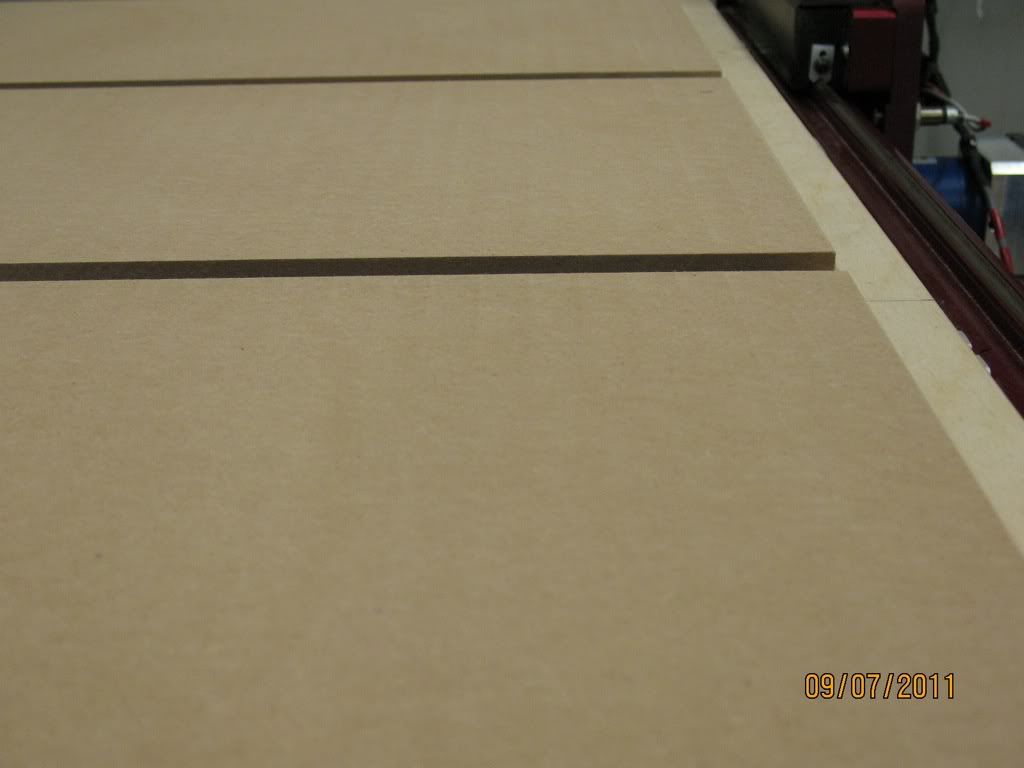 [/IMG]
