
 Reply with Quote
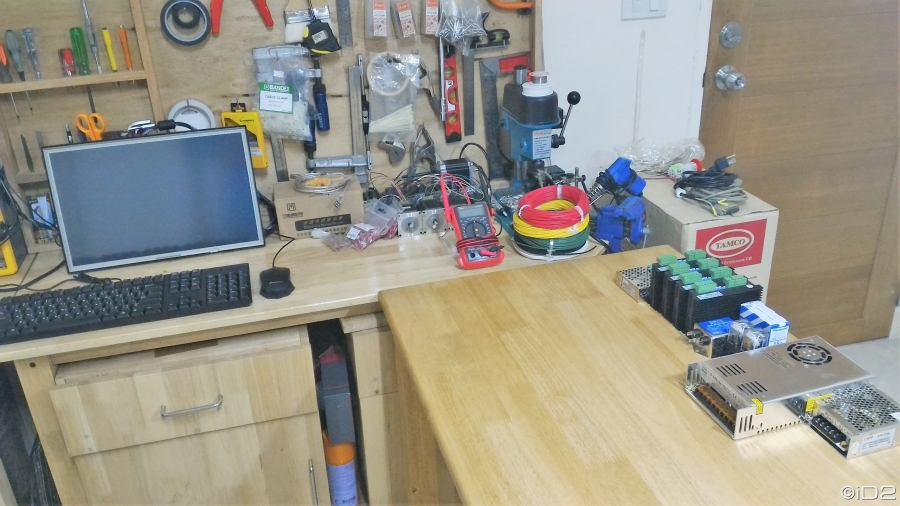
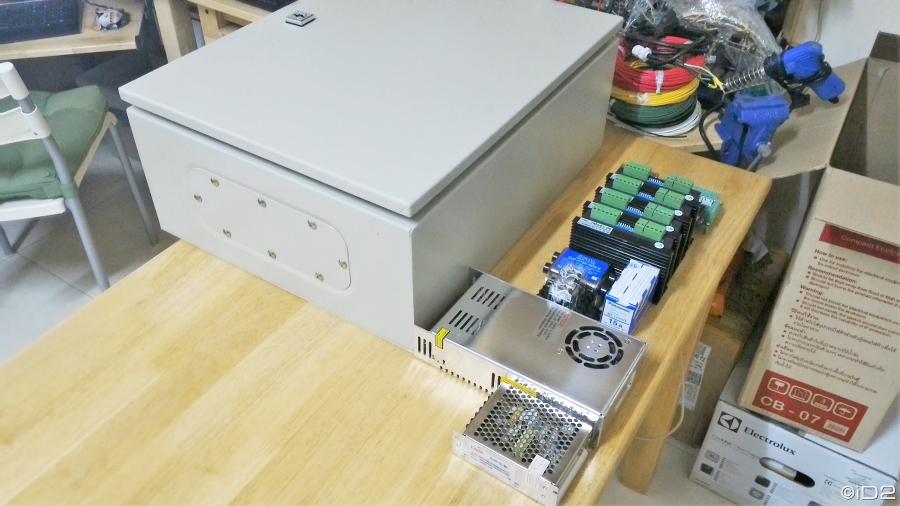
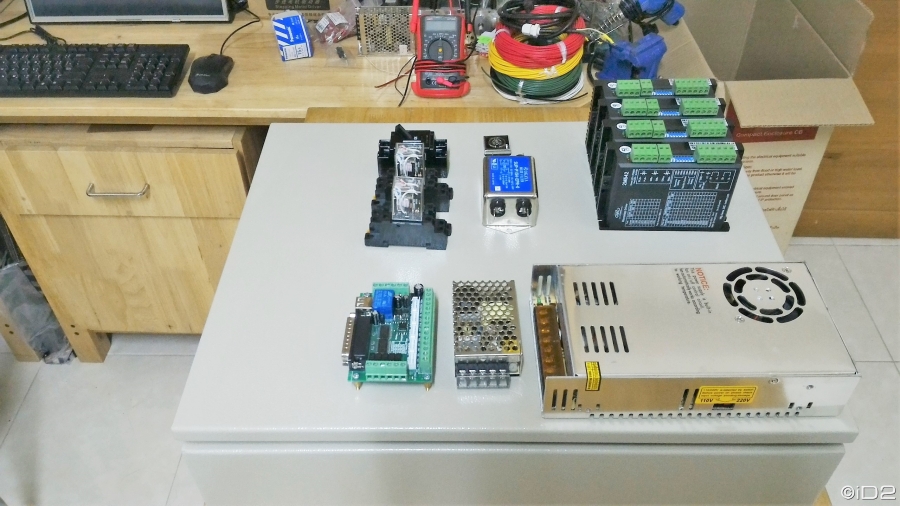
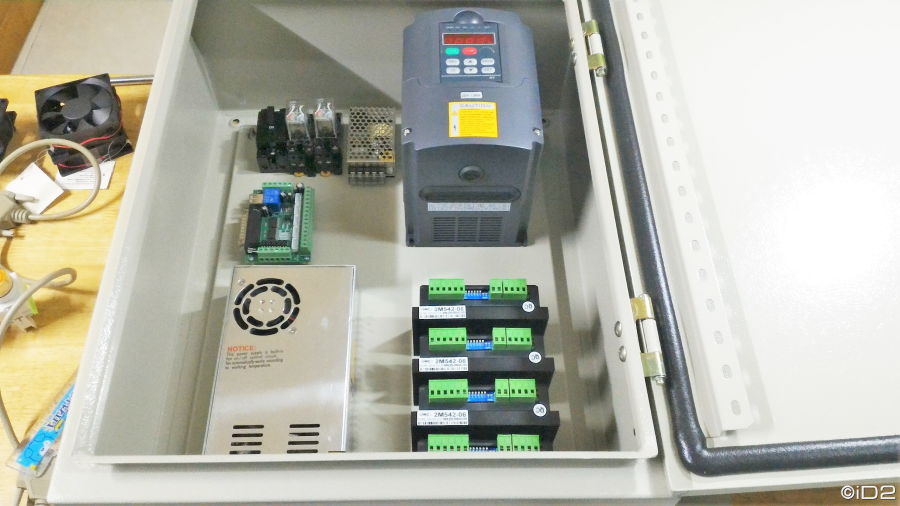
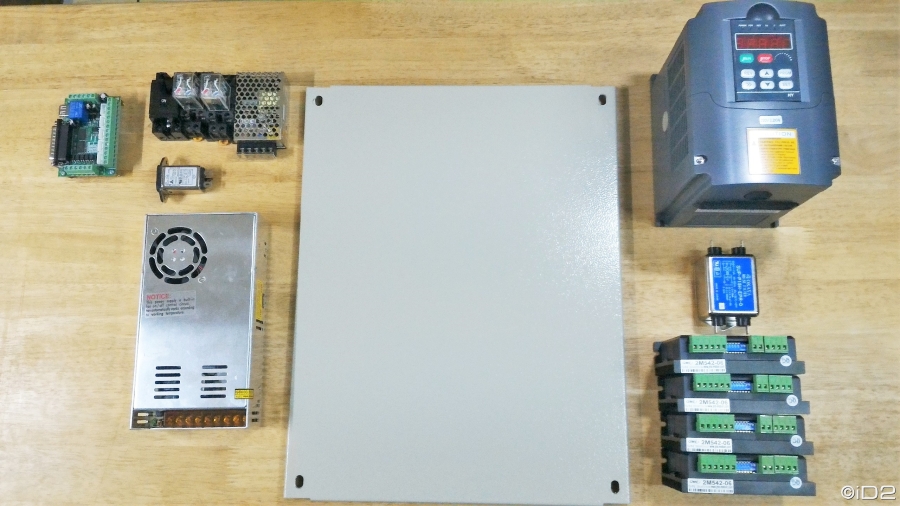
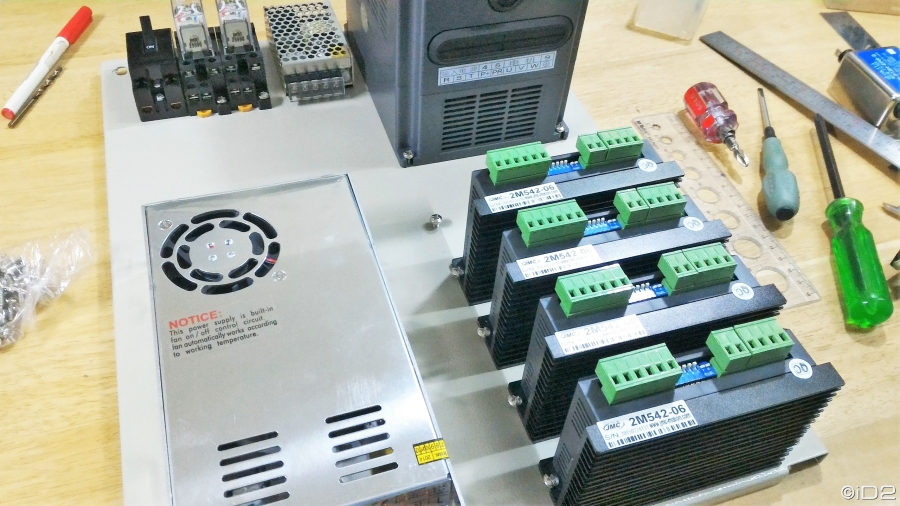
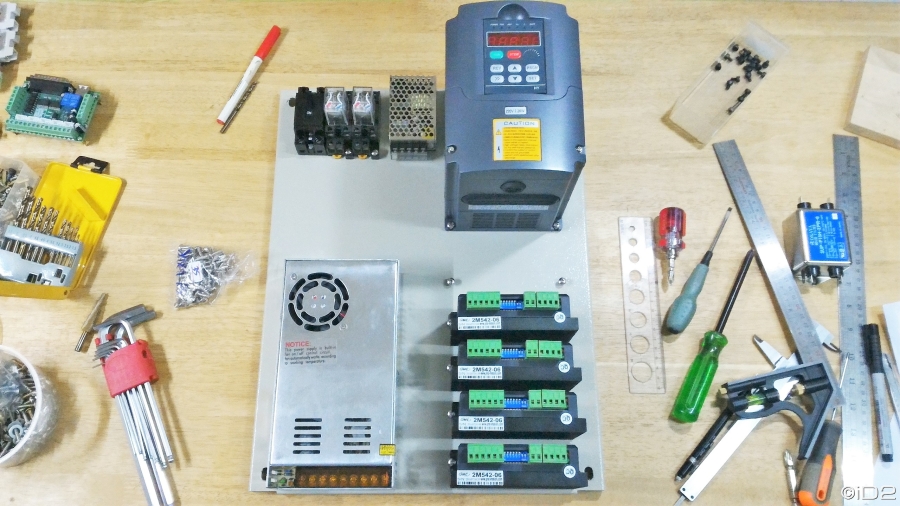
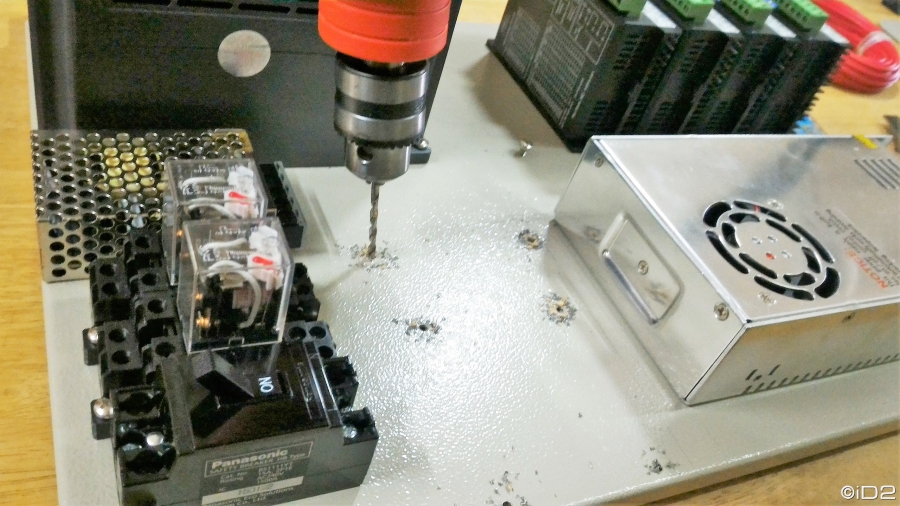
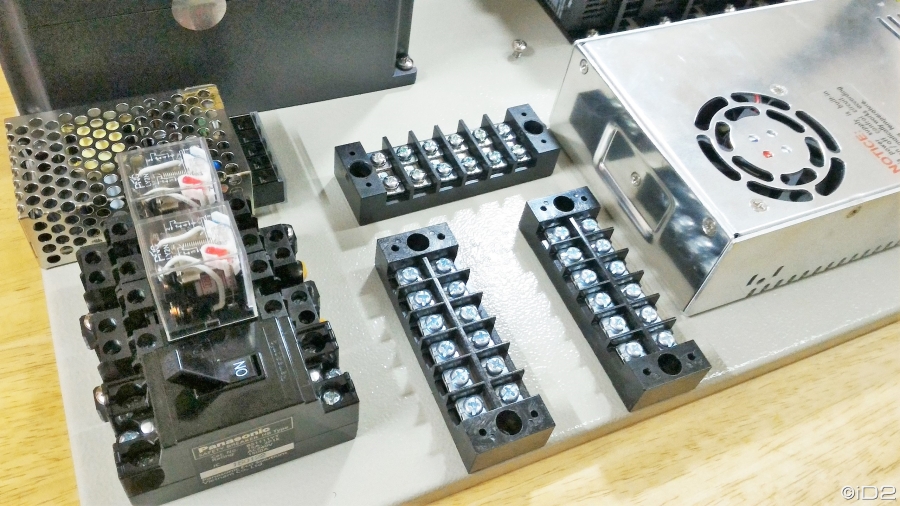
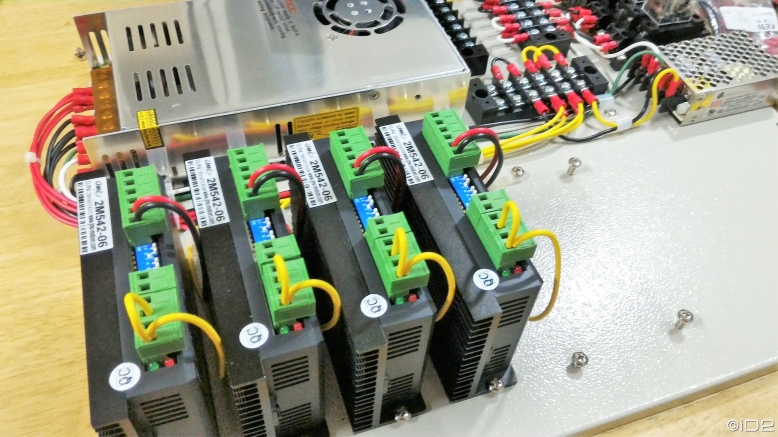
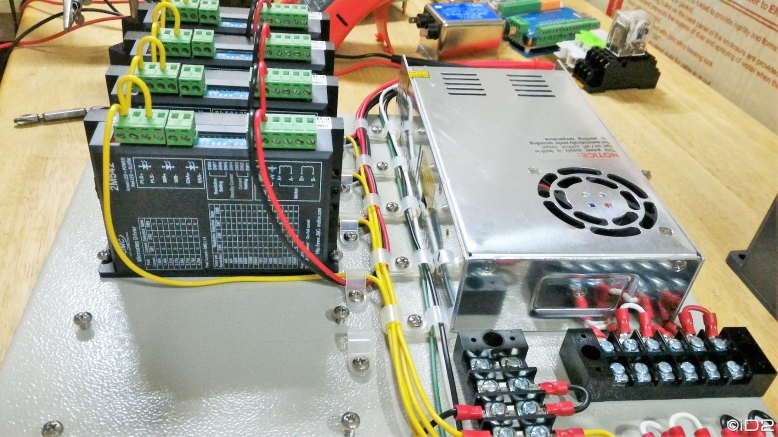
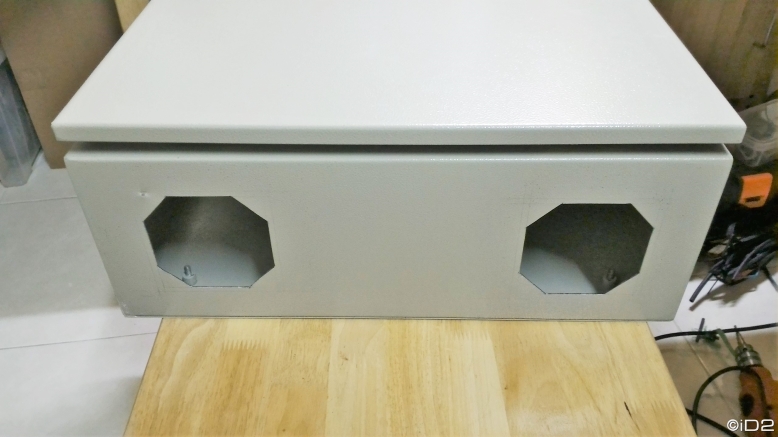
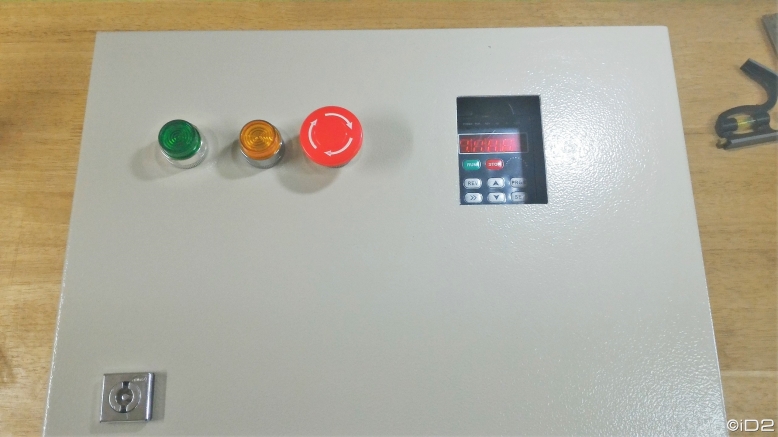
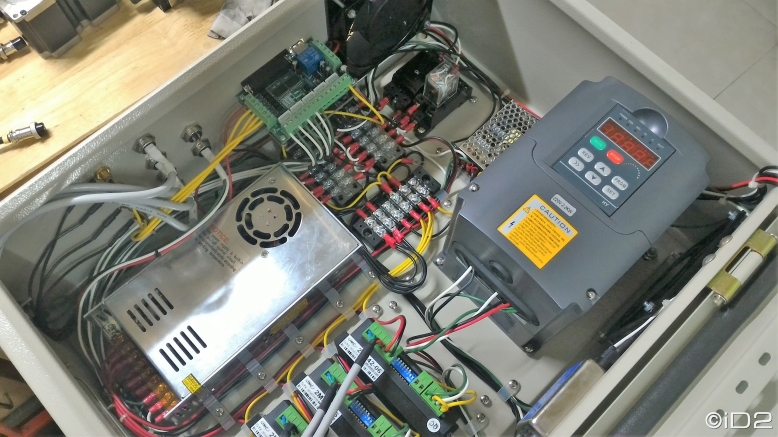
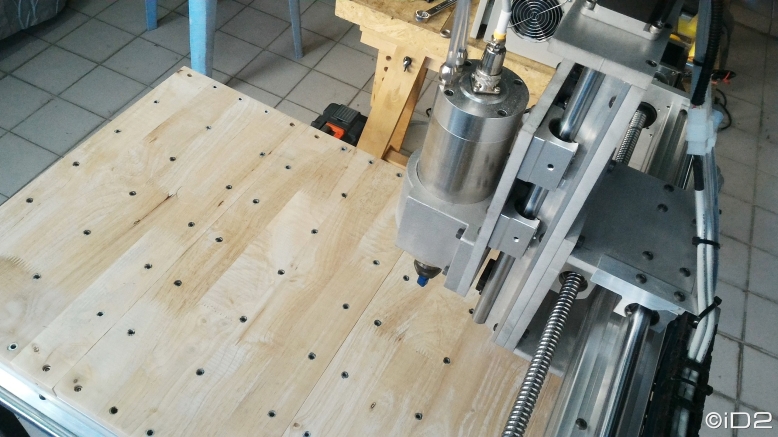
Let start with CNC Controller box.
[img]href="https://id2cnc.files.wordpress.com/2016/03/p_20160312_1249231.jpg?w=900[/img]


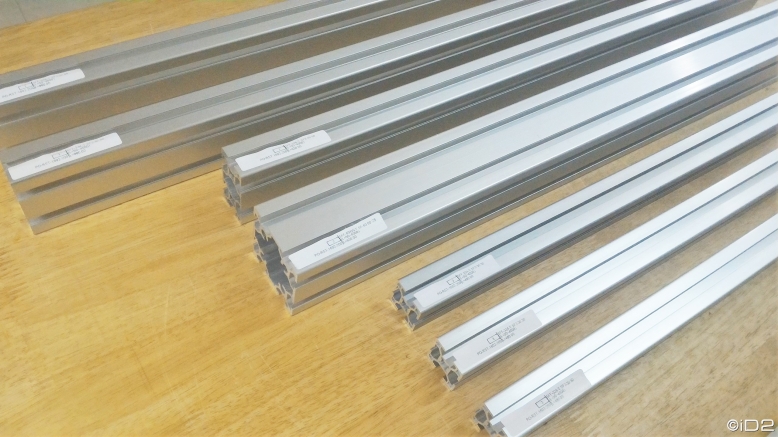
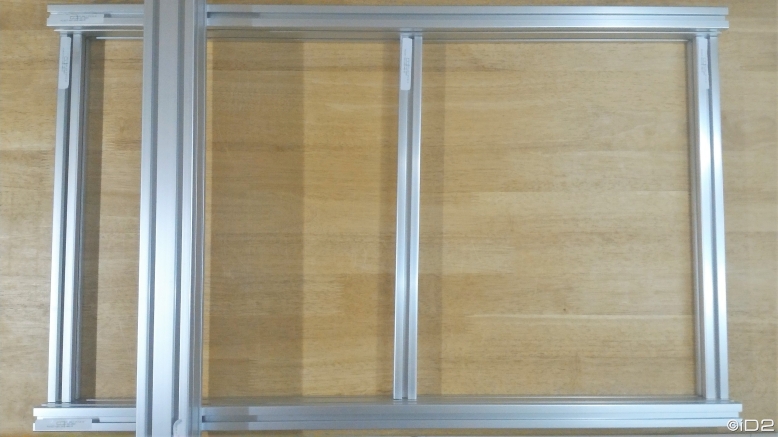
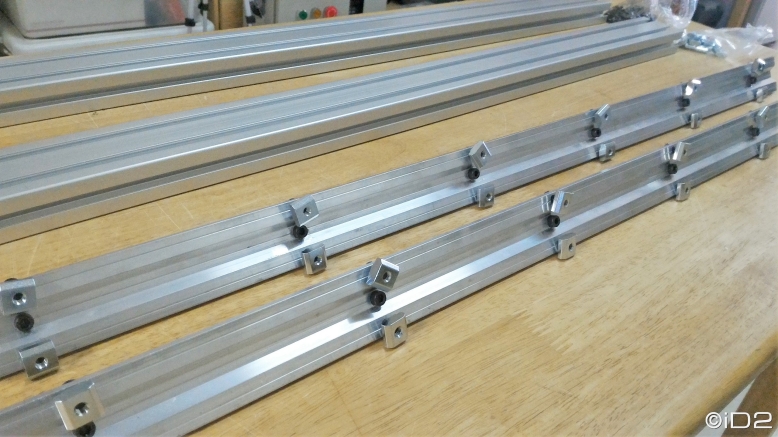
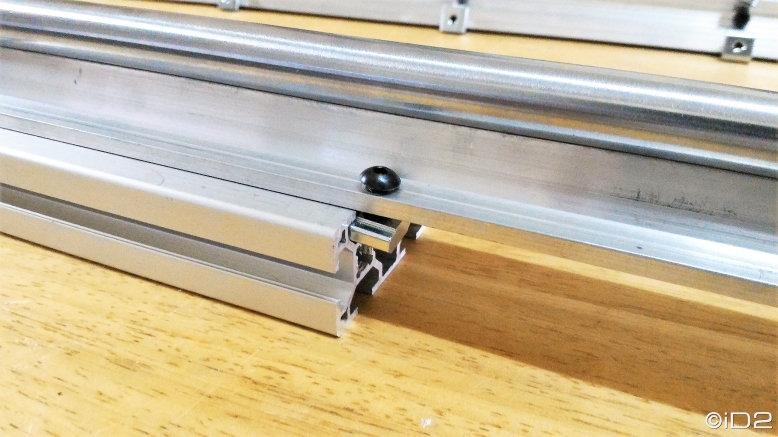
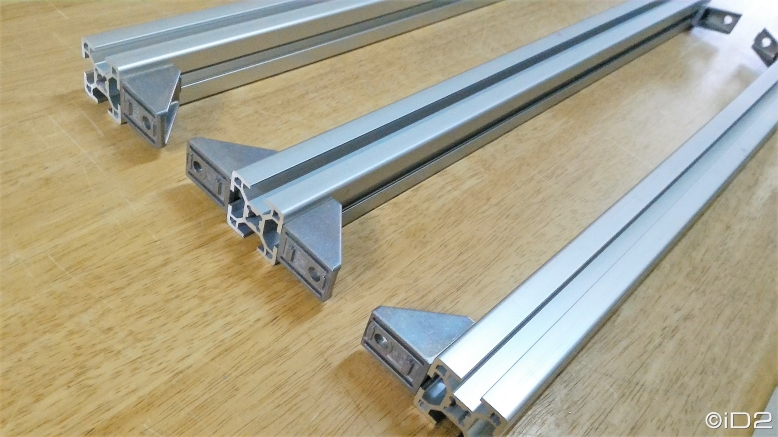
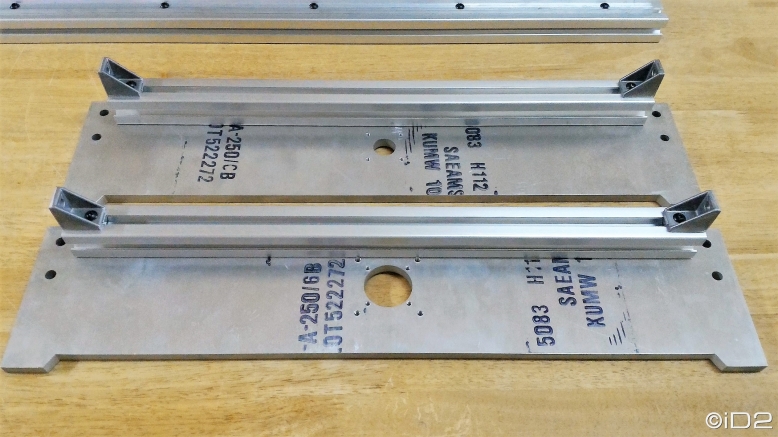
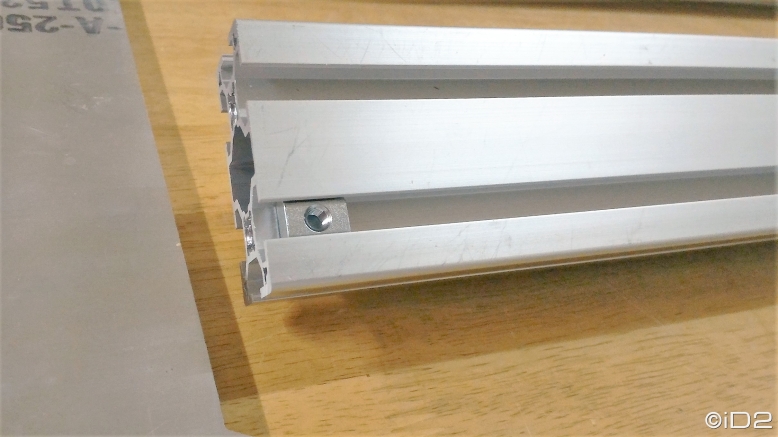
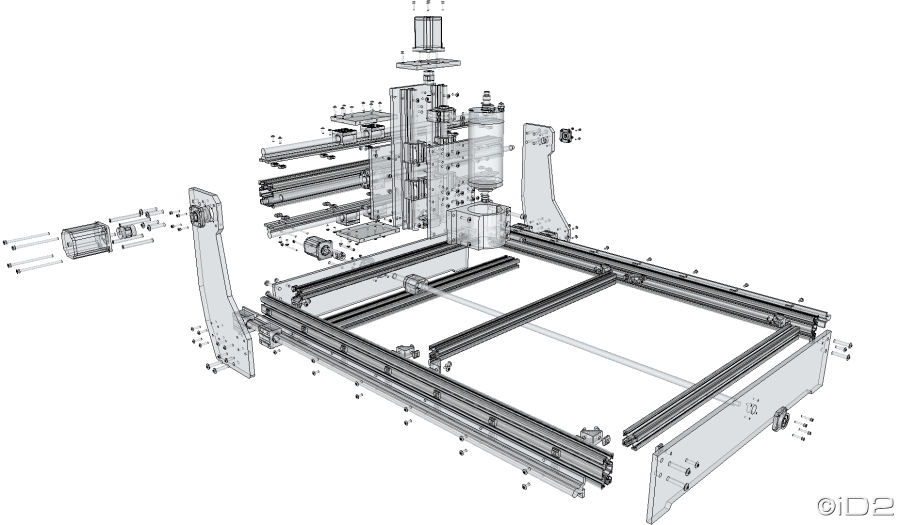
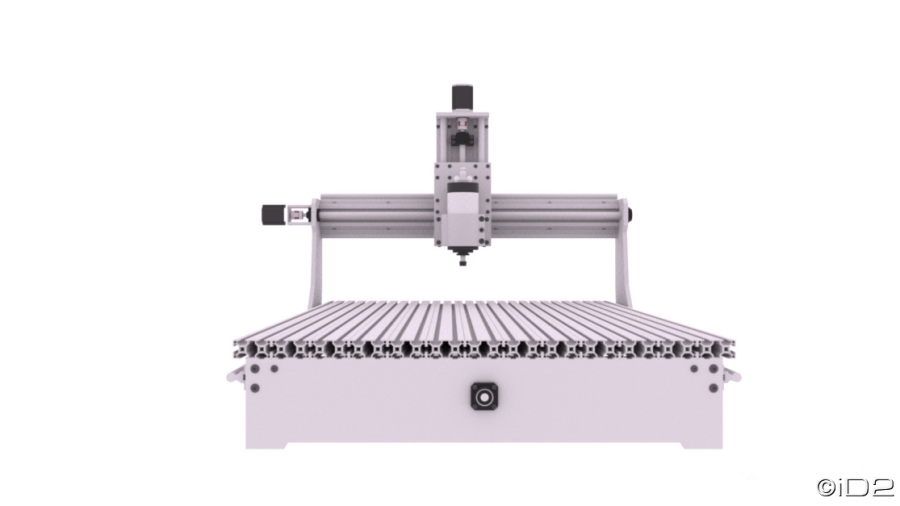
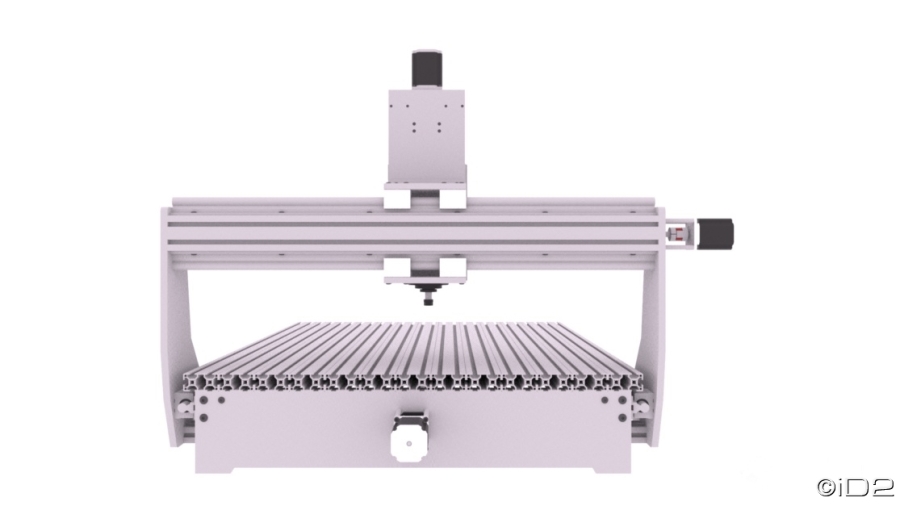
Hello, Now i start my new design for low cost CNC with cost about $1,500 (Include water cooled spindle) , it build from aluminum t-slot profile and aluminum 5083.
This design will have 6 different machine size.
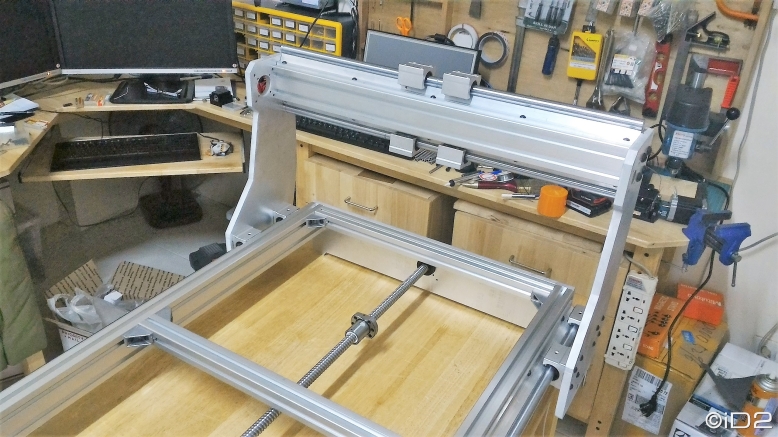
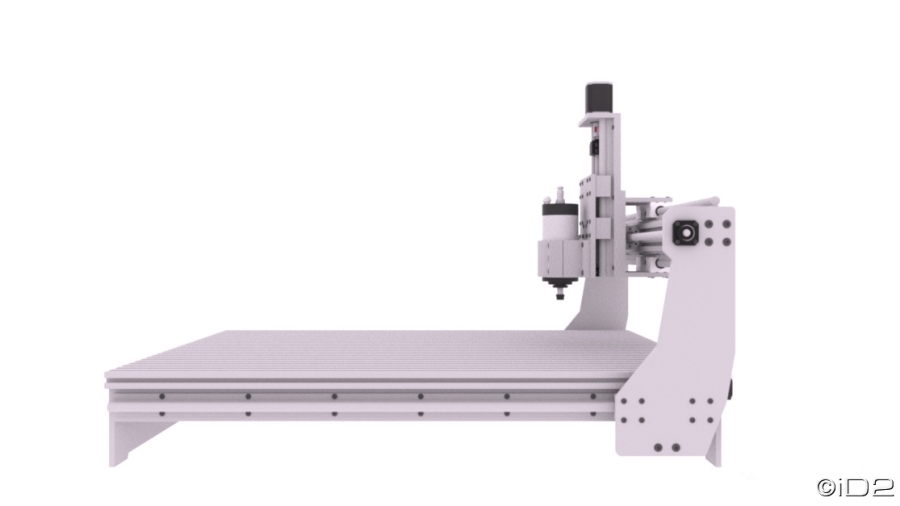
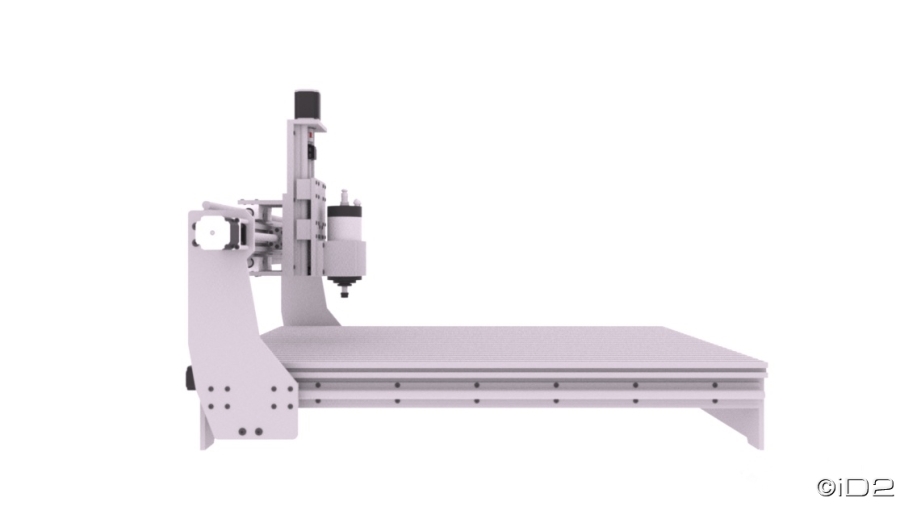
iD2CNC-SS Machine v.1.0 Specification (65cm x 45cm x 15cm , XYZ) :: I will start to build this first
– Machine working area 650mm x 450mm.
– Machine size 1,050mm x 800mm x 750mm (width (X) x length (Y) x height (Z)).
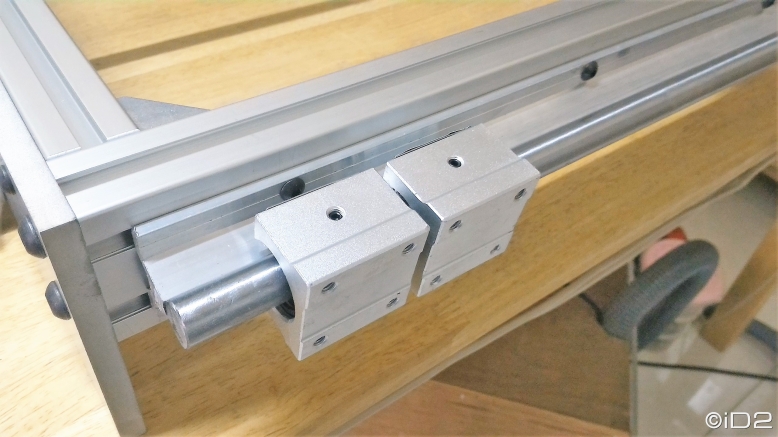
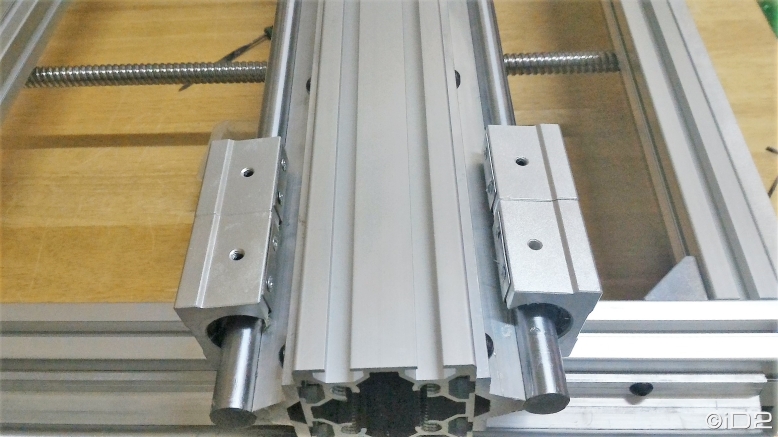
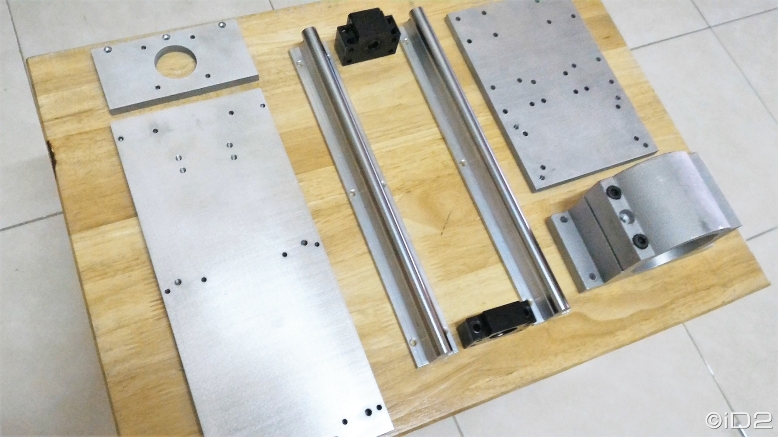
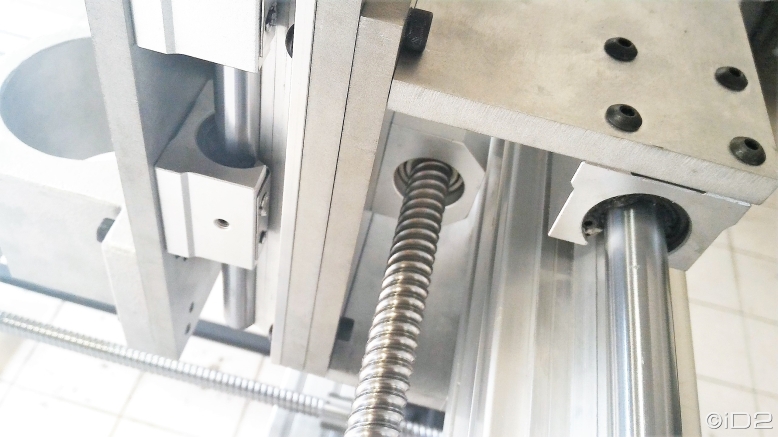
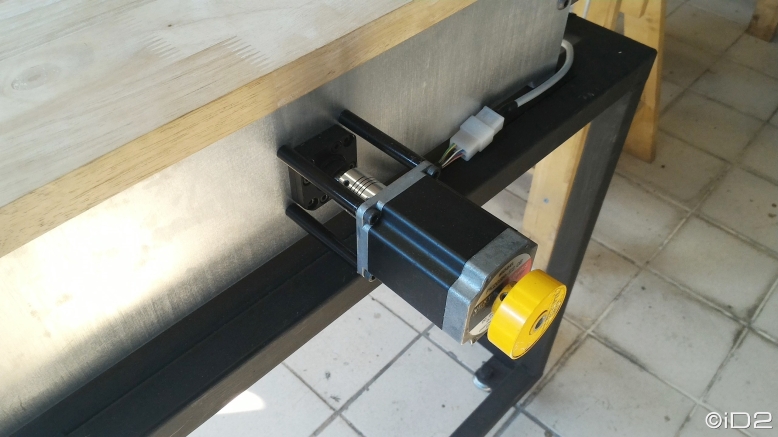
– Linear rod rail size 16mm (RM1605/RM1610) for all axis.
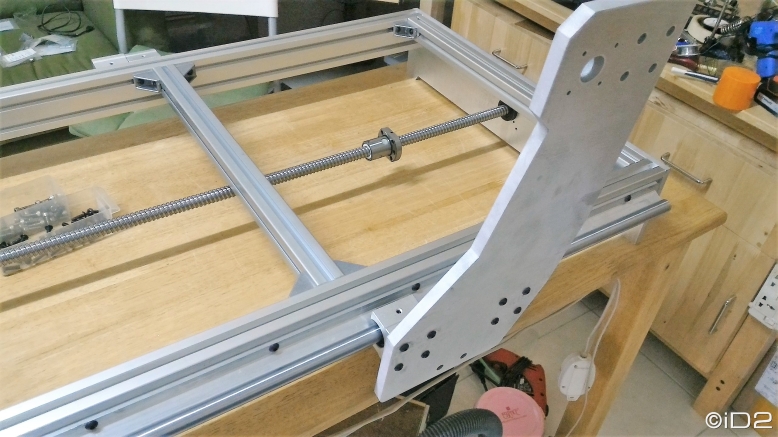
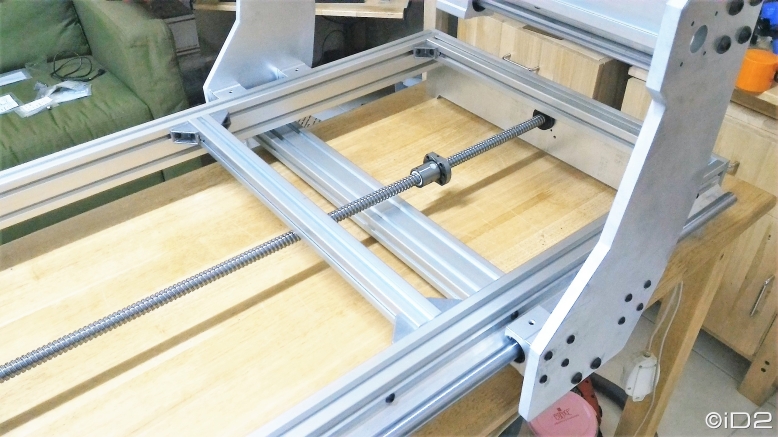
– Ball screw 16mm (RM1605/1610) for all axis.
– Use standard ball screw support BK/BF12 , FK/FF12.
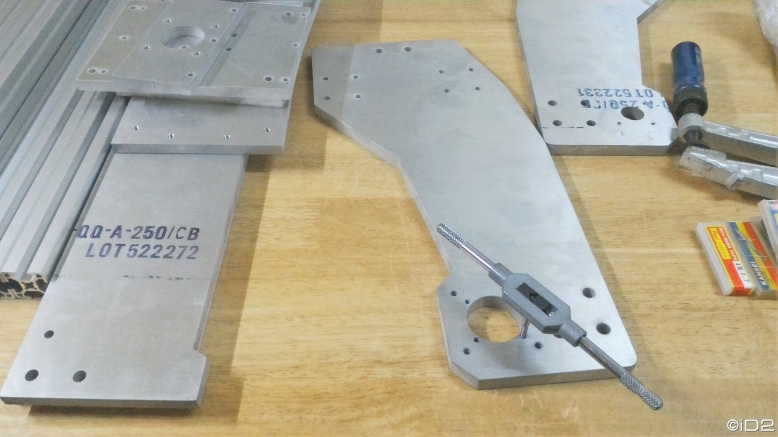
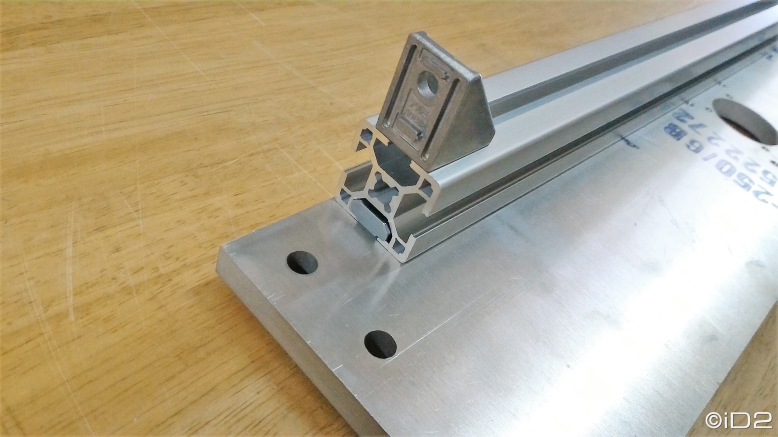
– Aluminum frame use aluminum alloy 5083 10mm & 12mm.
– Design using metric unit (mm).
Other 5 machine size , see detail here --> iD2CNC - SS & SP machine spec
Other cnc build log , see more here --> CNC build log
Other CNC Controlller box build , see more here --> CNC controller box build
Similar Threads:
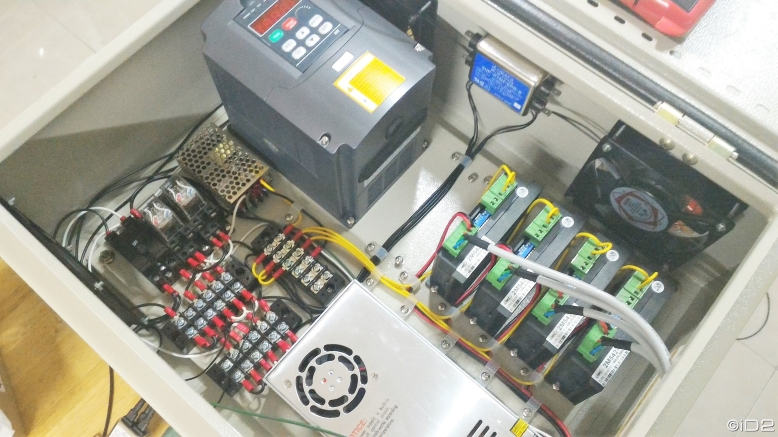
Let start with CNC Controller box.
[img]href="https://id2cnc.files.wordpress.com/2016/03/p_20160312_1249231.jpg?w=900[/img]
Full detail build log --> My Blog iD2CNC.COM
Geez....that looks almost too nice to use now!
Fantastic job, very nice work!
cheers, IaN
It's a state of mind!
Nice...
hi verry nice and clean build the only think i would change is the middle x axis i would do a double one really verry nice
Gesendet von iPad mit Tapatalk
Originally Posted by aarggh

Thx
If you like to see my previous build of dual y axis you can see it here iD2CNC Dual axis
Last edited by iD2; 04-13-2016 at 02:57 AM.
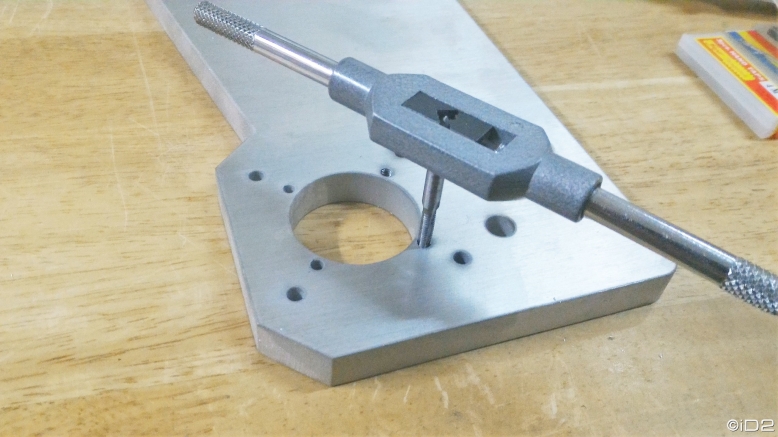
Very nice work. Thank you for sharing all the detailed images.
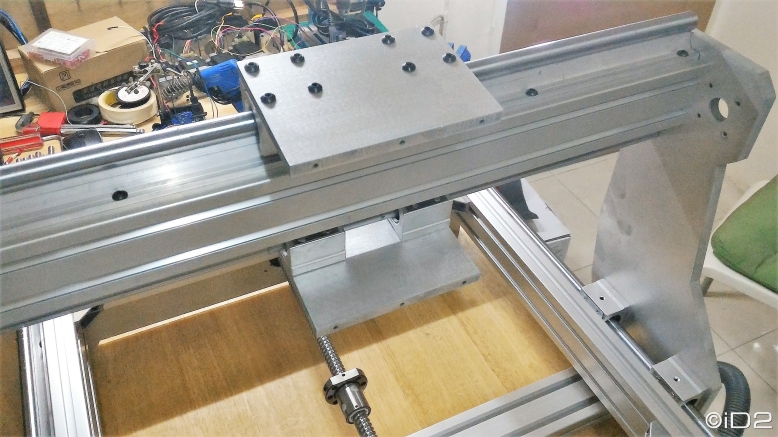
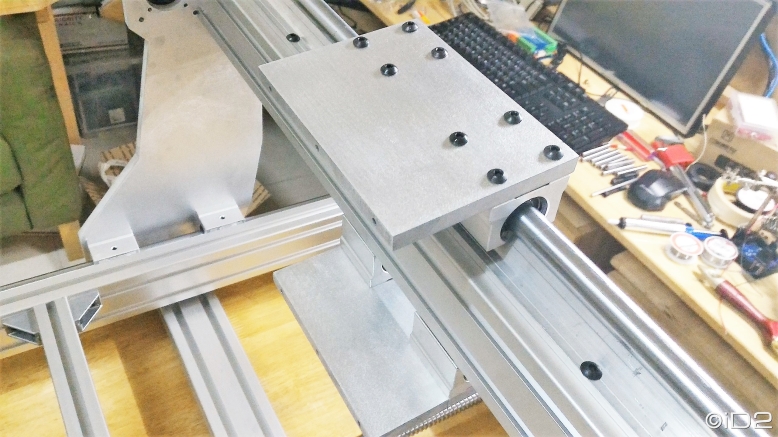
How thick the gantry alluminium plate?
Awesome build thread...you got some skillz!
iD2,
Please post larger images, just kidding.
Awesome work, very impressive and clean too.
Jeff...
Patience and perseverance have a magical effect before which difficulties disappear and obstacles vanish.
thx
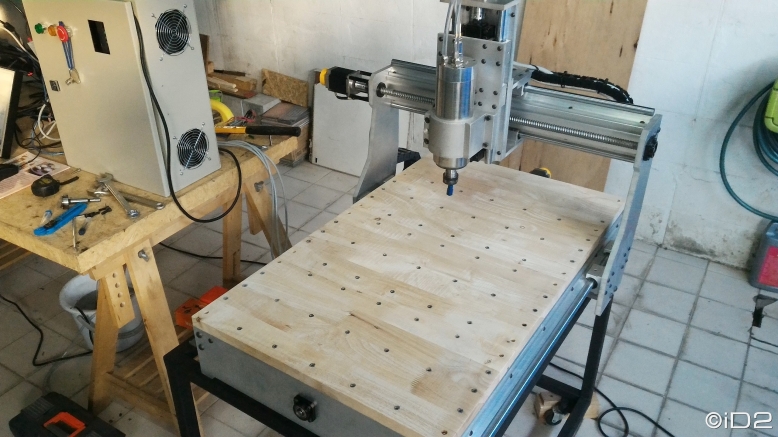
if machine working area not over 65x65cm i use 12mm but if it bigger working area i use 15mm aluminium.
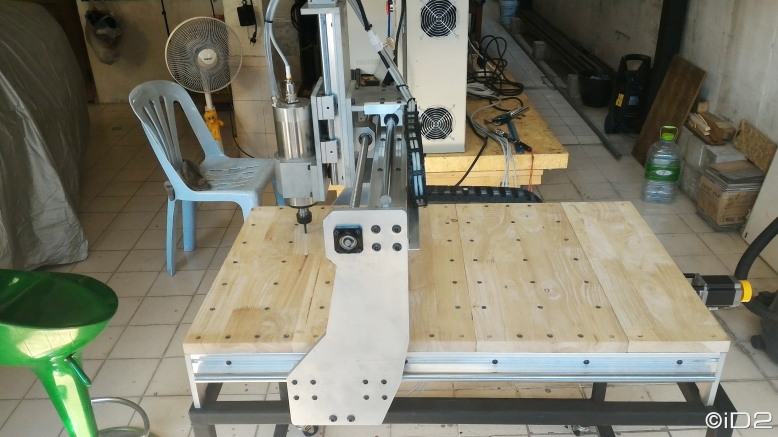
After finished assembly then it time to test cut.
All images , go to see it --> iD2CNC-SS build log
If you like this design --> iD2CNC-SS v.1.0 Plan
Very nice work. You spent a lot of time not only on the machine but also on the photographic work. I like when people post quality images, it shows that they are interested in what they are doing and not just "spending spare time".
Some simple upgrade proposals:
1. An acrylic walls around the table. You'll appreciate that when done. Make the walls as high as possible and easily removable. That way you can still work with larger work pieces and zeroing the Z or positioning the material is still easy. It also provides protection when (not IF) you snap off a mill bit which comes flying like a projectile across the room. Really, that is the main reason to have that and I don't understand people who dare milling anything at all without protection. OK, some people use eye protection, but that is pretty uncomfortable and it still not protects the face (unless you have the type I have), hands or other persons or pets in the vicinity. Perhaps I am a chicken, but that's the way I see it. Of course, it also provides a cleaner surrounding which is also a good idea.
2. Chip removal system. Manually vacuum cleaning now and then isn't that efficient. I have recently made a dust shoe and it makes a huge difference. Before that, I used the same method, but it was pretty inefficient and inside the mill walls, which I had from day one, it was always messy. Not any more. Chips no longer milled a second... third... time and not flying around on and outside the table.
Now that you have such a nice machine you simply MUST take care of it and yourself. Both of the above improvements are only a few hours easy work, well worth the efforts.
Thank you for an advice.
![[iD2CNC-SS v.1.0] Aluminum CNC design and build](https://www.cnczone.com/forums/images/cnczone.png)