


 Reply with Quote
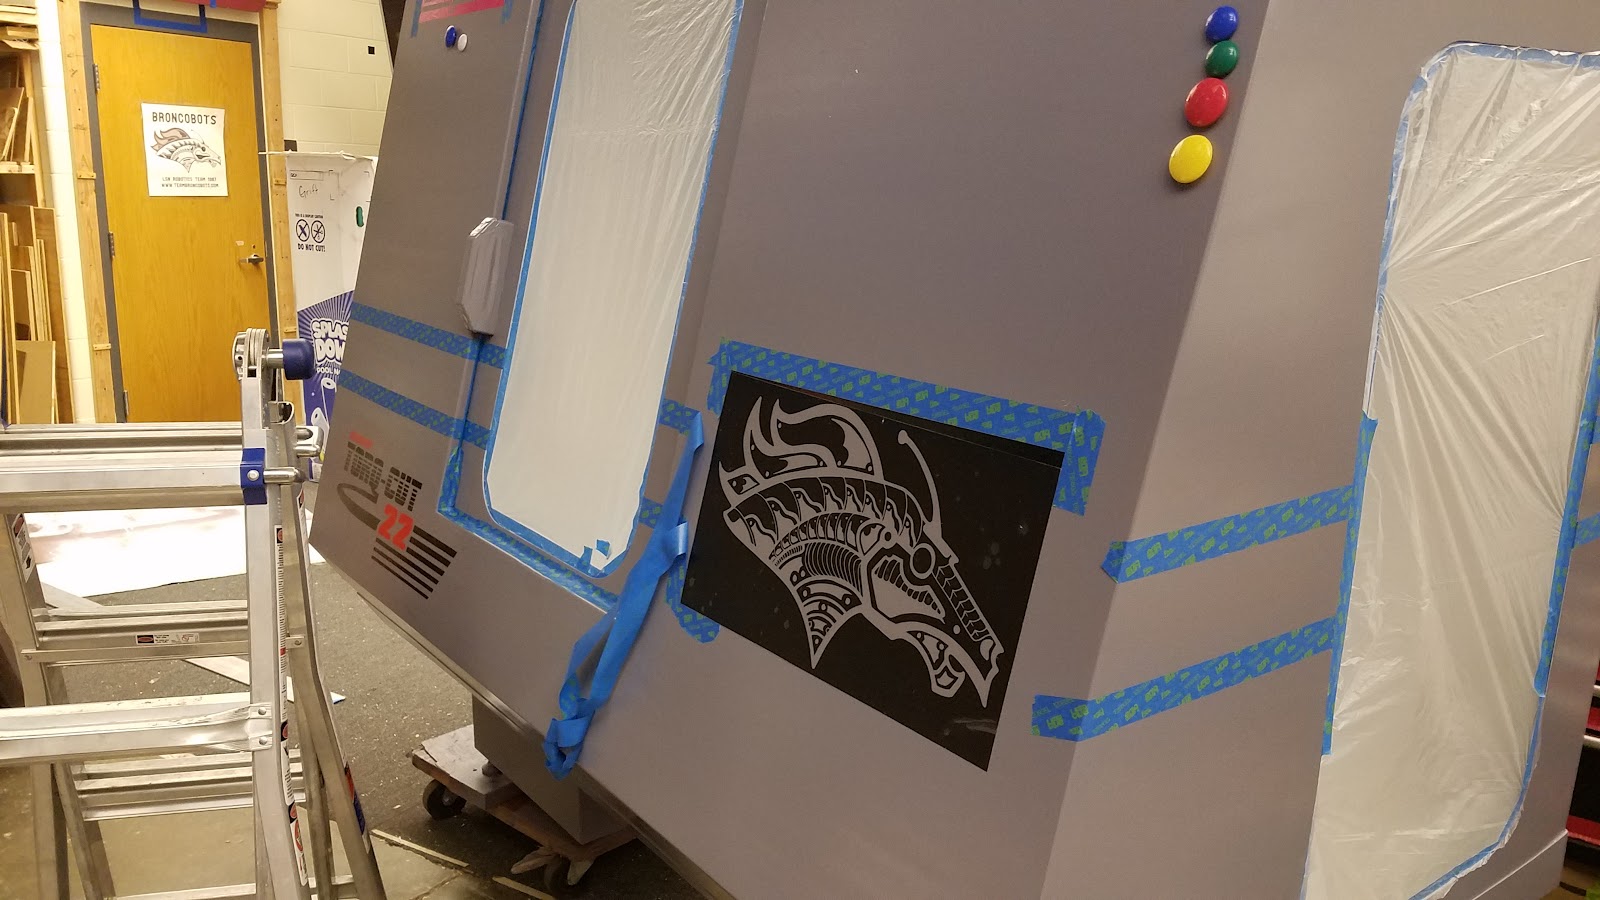
Having done the base coats on the enclosure and loose parts, we prepared to do some painting on the rest of the machine that we couldn't move. We decided that we would make all of the key moving/control components red: tool changer, table, spindle covers, boom arm, console; the casting, electrical cabinet, enclosure would be grey with a red accent stripe. For this we had to get creative and put up a paint booth back around the rest of the machine sitting in our shop.
Ideally we would have removed everything off of the casting, such as the air manifold - but we were advised to not mess with the old lines as that could quickly become more of a headache later. So I got to work taping them off and all the other components in/around the casting.
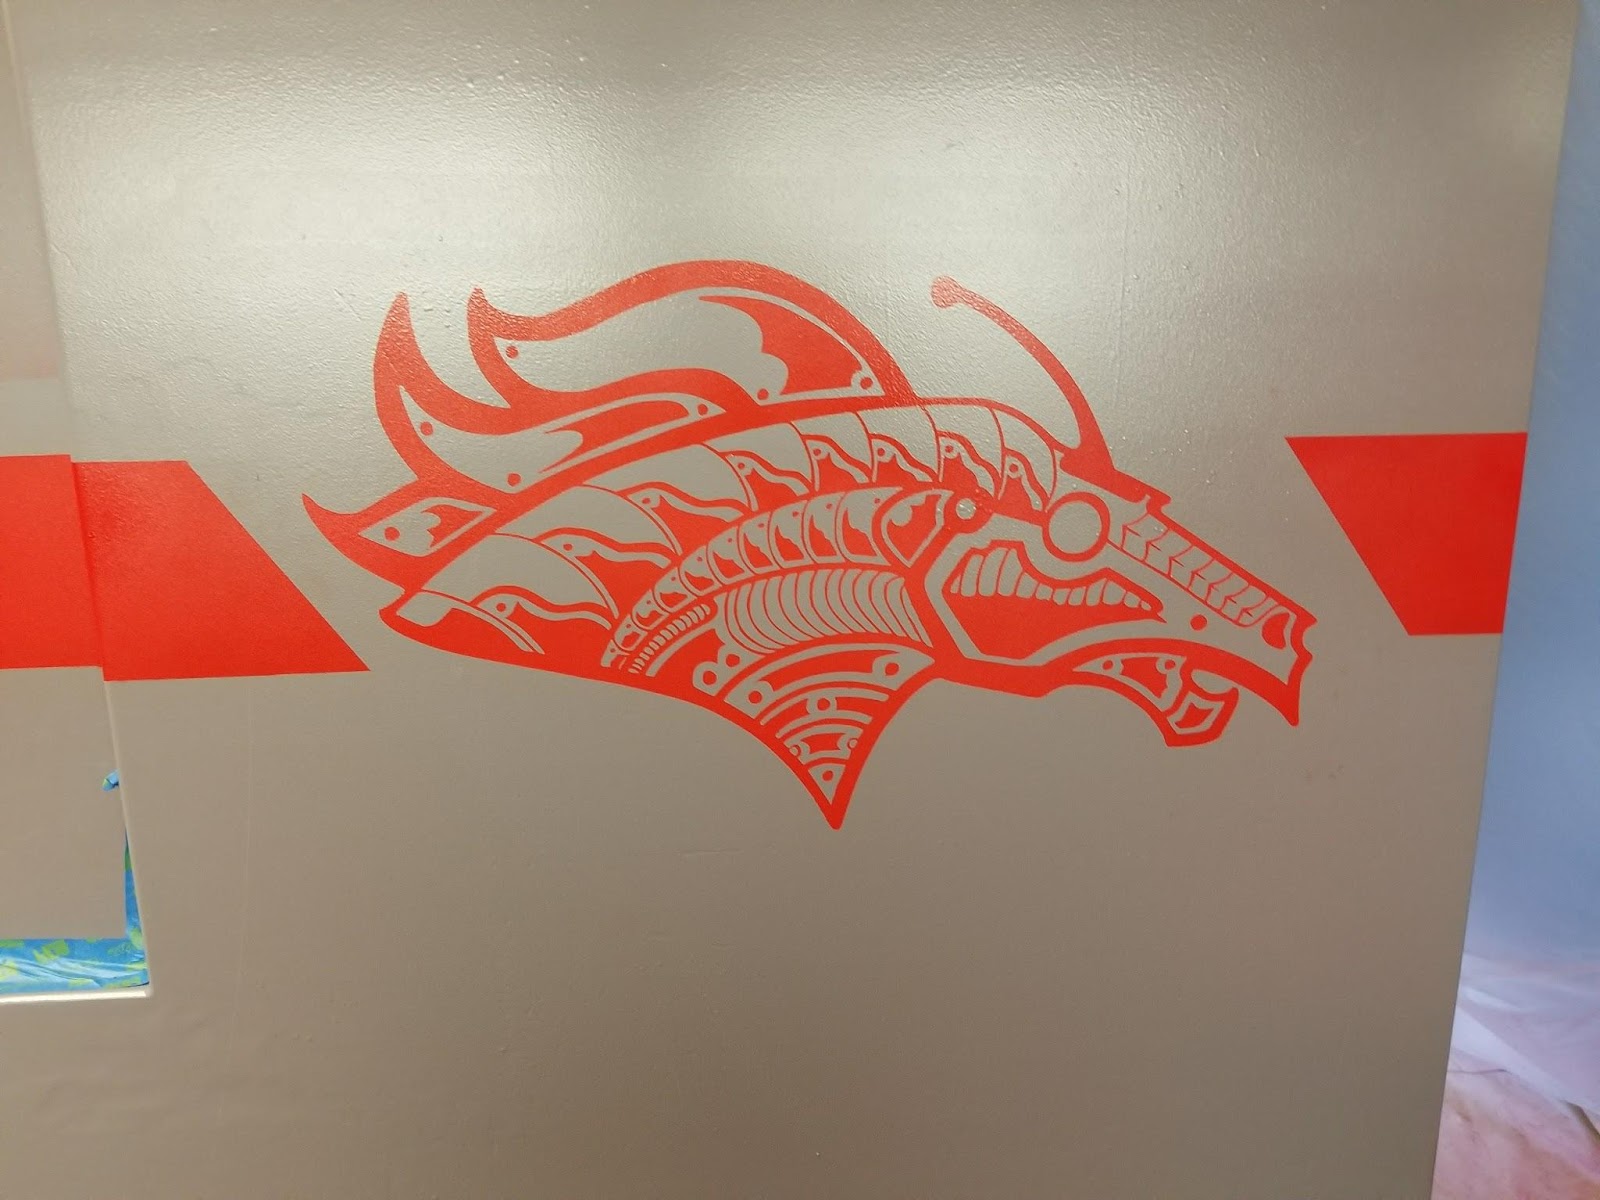
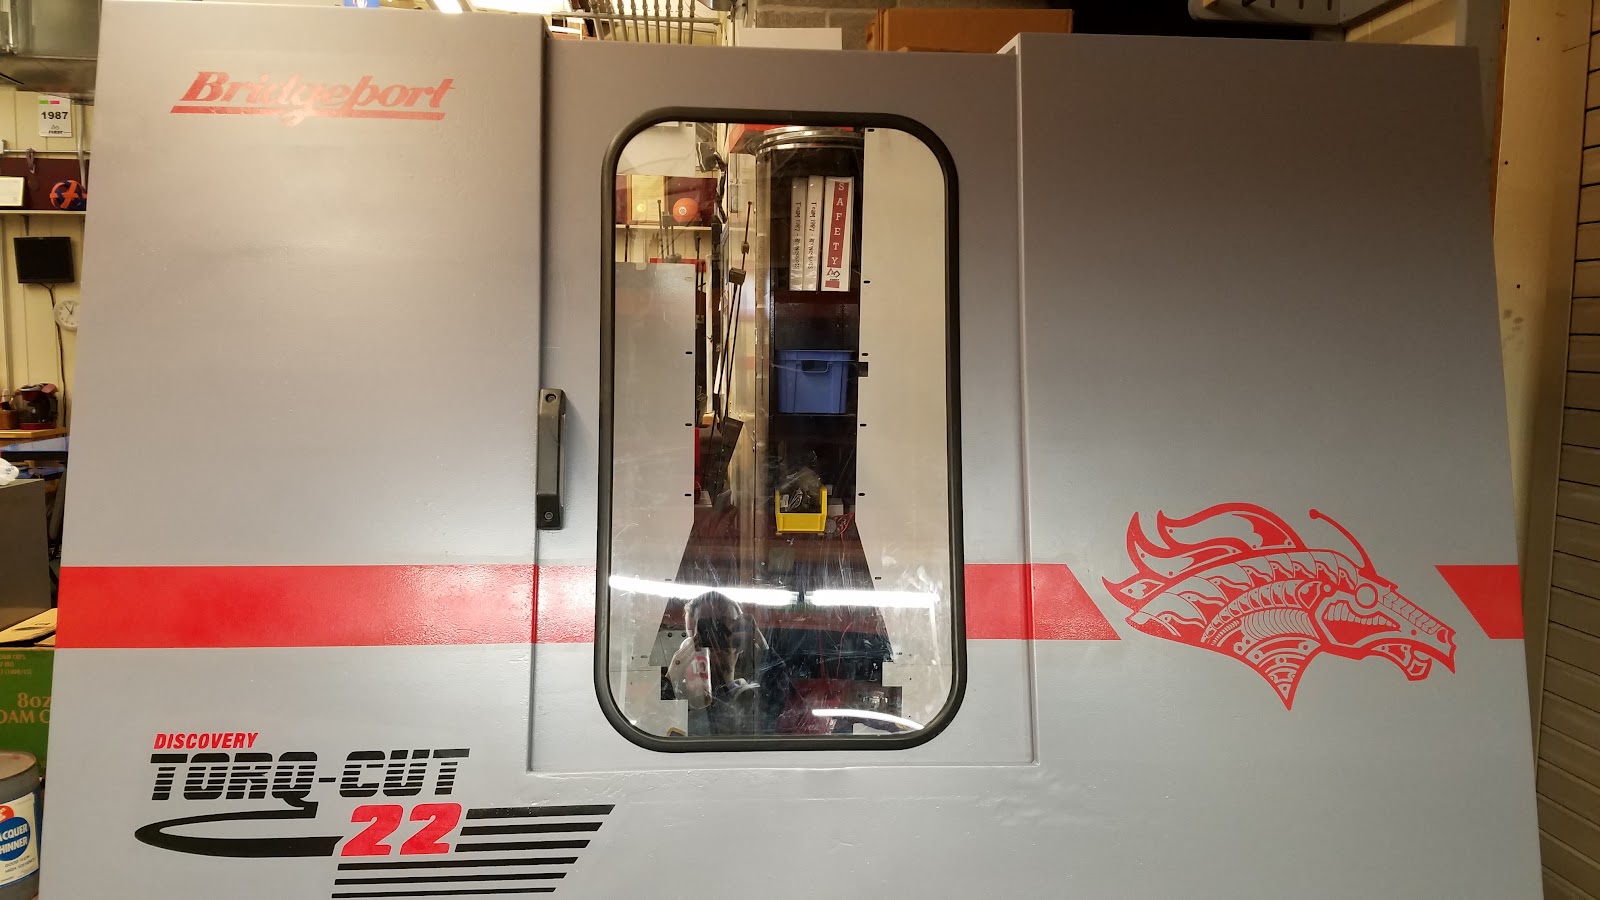
One of my personal goals for this project was to make the machine uniquely ours while maintaining its identity. By that I mean I wanted to have all of the original Bridgeport and Torq-Cut logos on the machine as they used to be. For that I used Fiverr.com, and for a very reasonable price, hired a graphic artist to recreate vector versions of the original machine logos. Joshua had a friend with a vinyl cutter who then cut negatives of the logos out for us to use as paint stencils.
Part of the making it ours, aside from the colors, included adding the Broncobots logo underneath the console on the enclosure.
At this point, we had completed 95% of all of the painting. Since then, we touched up a few things up here and there.
There were some smaller tasks that we worked out - we purchased new ¼" polycarbonate for the side access doors and the main window, sourced a new rubber gasket to go around the window, replaced all of the bearings on the door, cleaned up the handles, and basically put the enclosure components back on. Shout out to Fairchild Industries for donating the new rubber gasket material for the window!
The largest "to do" item that we still had to address was the operator console. The 1996 CRT was very fuzzy, and looked… well, old school. We tested some of the random monitors we had laying around the shop.
Of those, we found that a wide-screen monitor would display okay, and one of them happened to fit inside the existing console perfectly. "Perfectly" in this case meant that it took up the entire console and left no room for the buttons. We then designed a new front panel that would shift all of the buttons off the side of the console giving us room for the new monitor in the old area. In the end we actually made this twice, the first time plasma cut the sheet metal, but some incorrect measurements and bad bends resulted in us trashing the first one. After getting the measurements correct, we decided to ask a local company, High Tech Laser and Polishing, to laser cut the next version.
While Joshua had been CADing the sheet metal changes, I recreated the graphic that goes behind the buttons on the panel and a few other graphics to put back on the machine.
Once the console was completed, we took a break while waiting for the school district electricians to come and wire the machine (that process was started back when we got the machine in September and was finally done after Thanksgiving!).
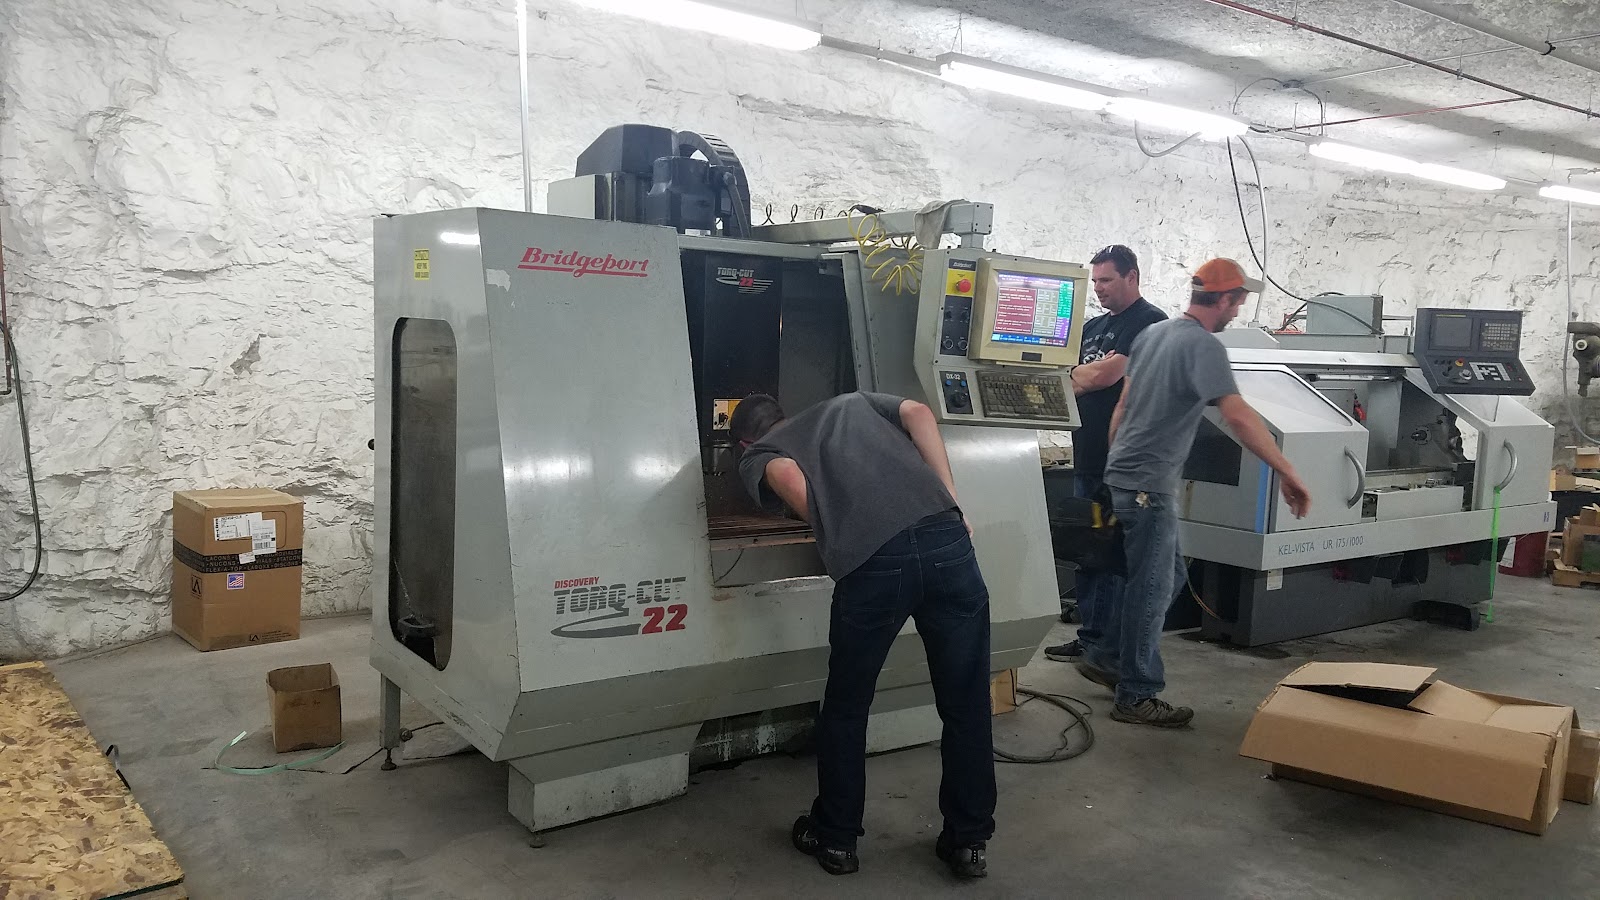
Eventually, it was time to power it up for the first time in our shop. We opted to keep the enclosure off until we could could turn it on for the first time and run it through some basic checks. By doing this, everything would be easily accessible should we need to tear into any of it. There was some nervousness, but that was quickly put to rest, as we found everything was working just fine.
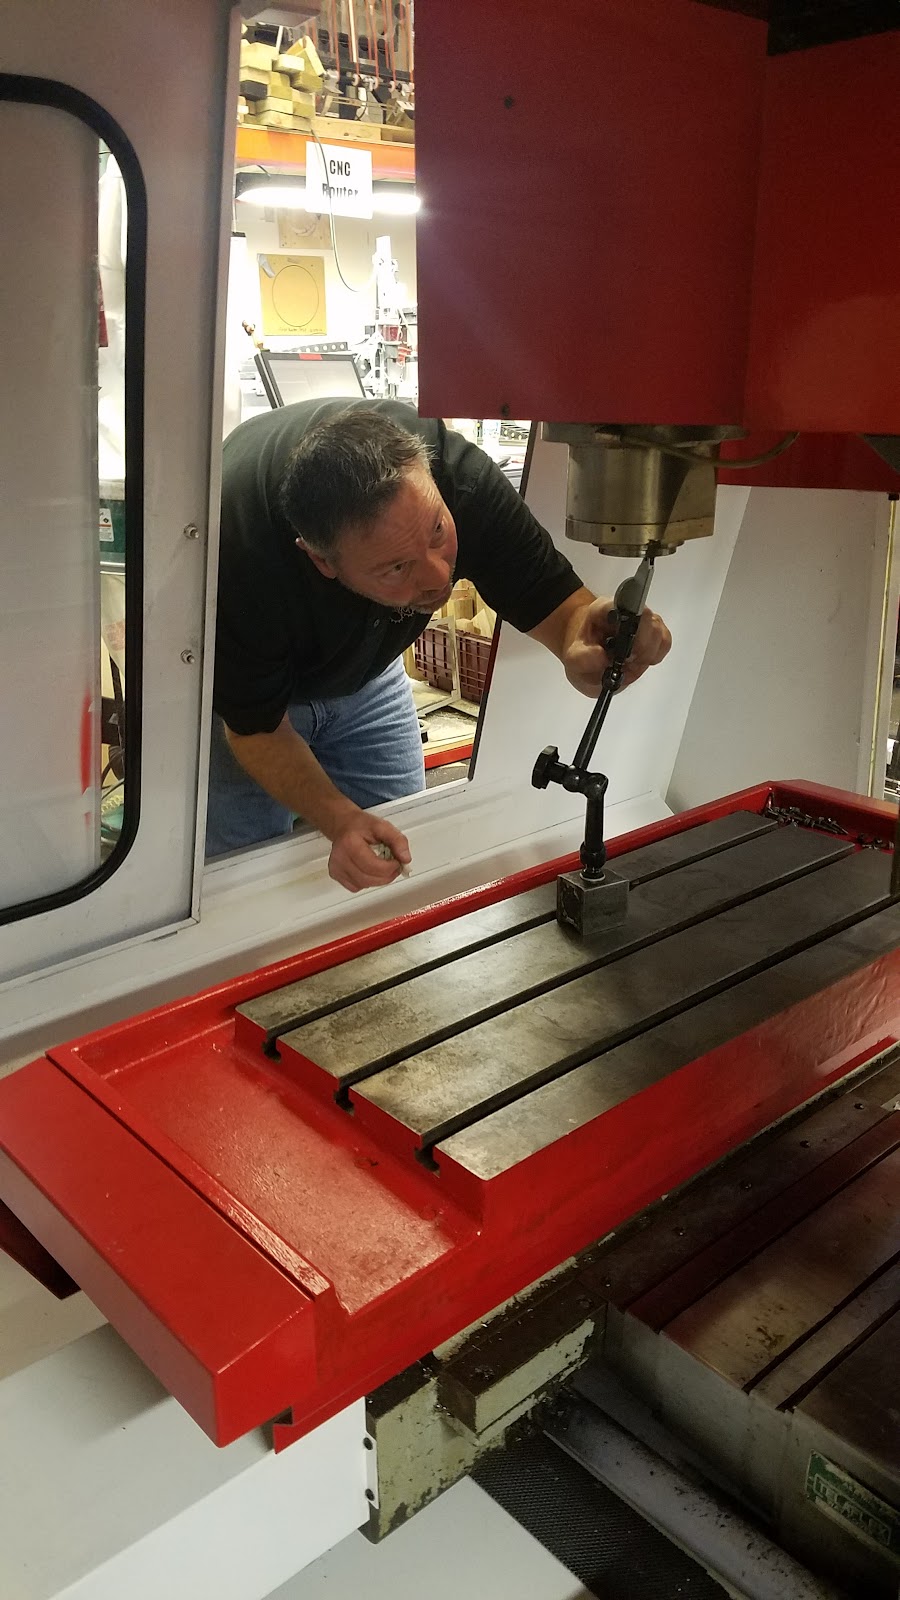
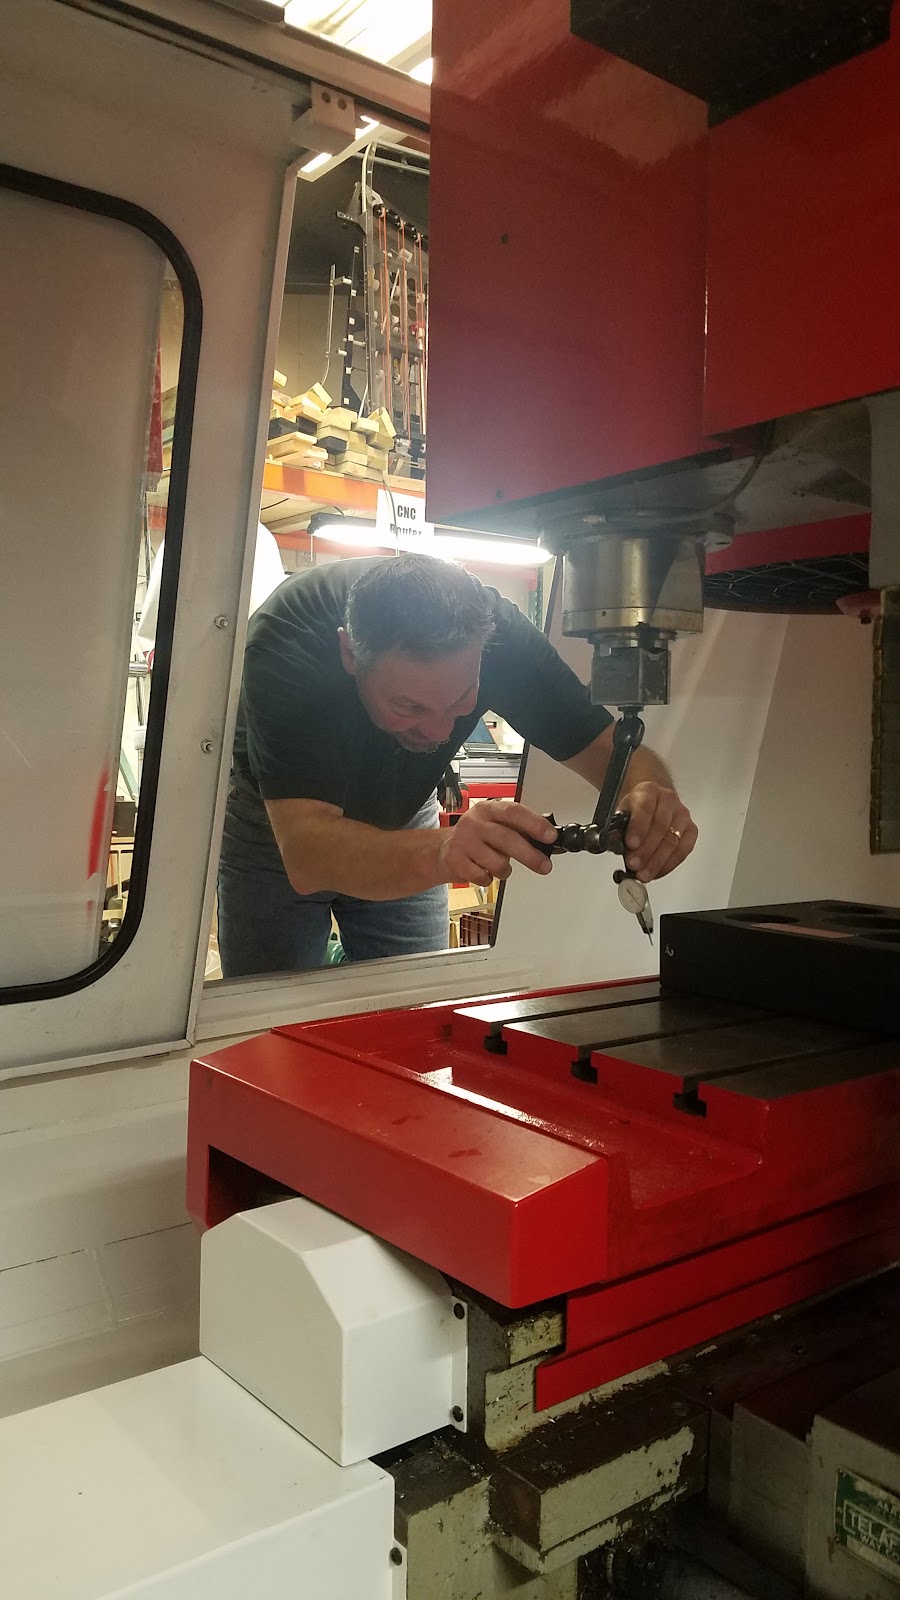
The next big thing was to get this thing properly set up. Joshua reached out to Maruka and was put into contact with Jim. Jim does CNC installs and repairs and said it would be no problem to come out and set things up for us.


 .
.


