Reply with Quote
One transformer - I hav enot yet been able to find out the technical data on this.


Greetings all-
I have a Terco Mill Trainer that I want to convert/update. This is the one that I starter looking at foing when I joined in 2005, but life happened. I actually have the programming station, the control module and the mill and manuals. There is a bad board in the controller station, so its either build up a new box or convert this one. The manuals unfortunatley are of little help. the only real schematics are in the programming station and it really has to do witht he 68-series architecture of the chips from 1983.
My needs right now are for some light milling and possibly engraving. The work envelope is only 3"x7.5", so its not very big, but big enough for what I need right now.
I am inclined to convert this one as much as I can - there are already toroidal transformers, rectifiers, capacitors and the like wired up to everything. The motor control is there too, though I think I best update that too. Motors are basic 6 wire steppers. I have factory motor data as far as wiring, windings, impedance, etc....
The milling spindle is coupled to a brushed motor of some kind. It has 2 wires to the brushes, and one ground wire. I can not tell if its AC or DC yet.
I am hoping that folks can give input and guidance on this journey... Here are some pics of the overall unit. I will make a new post of the internals as I go.
I am torn between going with Linux EMC and Mach 3/4.... as simple as this machine is, I think that with a basic C6/C10/C11 type board and a Pentium 4 I have lying about, its not going to be an issue either way. I really could use some guidance here. Heck, I could dual-boot and really torture myself.
Right now, I am assuming that I can abandon the old electronics and reuse the case to house new drivers and motor controls.
It woudl be really great if I could resue the controls on the panel for things like feed override and jog control and the like. It would be REALLY great if I could figure out the programming keys too, but step by step for now....
I am hoping people that have done a conversion like this can give input and suggestions. All of the components are attached to the aluminum chassis with thermal heat paste between the device and the chassis.
Now for some overall pics...
Dennis
- - - Updated - - -
Now for some pics of the internals-
Motor Connections at the rear of the unit-
Devices inside the chassis (this is a mirror image of the stuff on the outside)
Similar Threads:
Last edited by sinnedD; 06-15-2017 at 01:04 AM.
One transformer - I hav enot yet been able to find out the technical data on this.
Last edited by sinnedD; 06-14-2017 at 10:58 PM.
Milling Motor details and motor controller. Its noted as a thyristor speed controller in the manual and paperwork. I am still trying to get my head around it enough to make sense.
I am pretty sure that these are the stepper drivers-
Bigger and 'right-side-up'
Last edited by sinnedD; 06-14-2017 at 11:05 PM.
I think that this is the power supply for the stepper drivers-
I have yet to figure out what these are- more disassembly is required to locate the items and their wiring
Top of chassis-
Inside the chassis-
Stepper Motors-
THESE CALCS ARE NOT FINISHED OR CORRECT! They are based on the motor and power supply sizing from Gecko Drives website. Values for Current and Voltage are placeholders.
The X-Y motors and data-
The Z motor motor and data-
Under the wiring cover-
Last edited by sinnedD; 06-15-2017 at 01:50 AM.
Here are some views of the control panel-
Front Side again
Backside
I love the mechanical key interface on the controller. You should try to keep/use all the original interface hardware; it has a great classic computing look.
Hi....a total crock of sh!t ....just my opinion so don't get excited........given the work envelope of a miniscule 3" X 7.5".....that is VERY small.........probably only suitable for doing printed circuit boards, or watching the wheels go round.
If, as you state, this is a training set-up, (it probably wasn't designed to do real work) it will never be a viable outfit once you get it going ....we all outgrow the first one......AND spend mega bucks in the process.
If you don;t have extensive electronic knowledge.......leave it alone.....sell it on to someone who understands them and likes to spend time messing with things as opposed to actually making the thing work.....which is the reason you have it.
One question you have to ask......why isn't it working now.......what went wrong and why did you buy/gtet it.
If you got it for almost nothing, or as a gift, you could gut it completely, identify the good bits of hardware and go down the Gecko path as that will be your total outlay and value added etc...........the end results will then be predictable, but you still have a small work envelope to consider.....bite the bullet, pass it on and go for a more workable package.
BTW....if it hasn't got an R8 or ISO 30 spindle, linear rails and ball screws, then it definitely is a crock of the proverbial.
Ian..
For your first foray into CNC, you might be better off going the very inexpensive route, and setting up a GRBL system.The motors could possibly be reused, as they were strong enough originally, although the round steppers lose strength over time. While the classic computing look can be fun, you would be hampering yourself in actually using and learning the original system. All the toolchain from CAD through CAM to loading G-code into the controller for that system would be much easier with modern things.
What it comes down to is this - is the machine the project, or is making parts on the machine the project? There is lots of information on current technologies, whereas with stuff from the 1980's you will have a very hard time finding anything out about.
This is a training tool, so train yourself on technologies that are applicable to machines you will graduate to later. Once you know more about the world of CNC, you will likely want something with more capacity for larger parts, so that is where you'll want to put money into the build. This one, go less expensive. GRBL is cheap for this kind of thing. $17 on Banggood.com will get you an Arduino UNO, a CNC shield, and stepper drivers. Then you need a power supply (if you can't reuse the original one), and some wiring. Spindle control may be able to be reused. Control it with one of the free G-code senders (Chilipepr is a web-based one that is popular for GRBL), and you can have your conversion working for under $100. See if you like it and want to go further, discover GRBL's limitations, and before you know it, you'll be wanting to do a G0704-type conversion... then you will see how deep into the rabbit-hole you have fallen...
BTW, it's OK to use something without all the bells and whistles for your first machine - linear rails, ISO 30 spindle, ballscrews, etc are not required for a good result. They do make things easier, but aren't required for non-production parts.
Hi, once you get an oval hole instead of a round one you'll know what backlash is all about.
Acme threads will always have backlash from day one, and linear rails make stepper motors work easier, apart from guiding the table etc more accurately when it's running with the gibbs slacked off.
Ian.
Let me re-iterate my original post: I want to reuse the mill itself and reuse as much of the electronics as possible. I see no reason to abandon salvagable torrodial transfromers, rectifiers, capacitors or the like. I have 2 really nice, finished aluminum chassis to put my build into. I have all the motor cables and connectors I might need, all wired up. Bonus is the mechincal switches/keyboards that I might be able to adapt later.
I am not going to get into a whats better hardware debate- collet types, linear motions slides etc... to me its like claiming that red brake calipers make the car go faster. This thing is already factory yellow and I see no need to repaint it because its fast enoug.
DSpeck-
Thanks for the thoughtful suggestions. I did not know about GRBL system, I will look into it. Eventually, I think that I will end with EMC or Mach.
I can pretty much fit all the modern electronics inthe original programming station. What I am unsure about is any intereferecne from the power supplies on the stepper drivers and spindle controller.
I was studying this control box from Automation Technology . It does not seem that any of these have internal shielding - the power supplies are already isolated by a metal chassis, which is again housed in another metal chassis.
Those two fans at the rear/sides of my unit are fan cooled enclosures within the controller. I am pretty sure one side has the stepper drivers in them, not sure about the other side. They have some sort of power boards and have an additional heatsink on top with button type diodes on them.
Anyhow, since there is no sheilding around the transformers, these little tunnels seem to perform the same function.
Thanks again for yout input.
Dennis
GRBL is something I plan to use on a couple of my machines. I have bought the Arduino packages I mentioned above, so I'll see how they work. In your case, if your stepper drives still work and take step/direction input signals, you can just hook up the output of the CNC shield to the old drives and work it that way. I would go with the new drives, though, as they will drive your steppers more smoothly and efficiently than the old ones will. The basic Step-Stick drivers will go up to 24V and 2 Amps, and are the size of a postage stamp... You can get the improved ones (DRV8825s) which will take up to 36V and output up to 2.5Amps. Same physical size. I was astonished how tiny they are in real life...
From all my research, it seems you would be better off using LinuxCNC than Mach3, but newer technologies like UC-CNC are also excellent. Do lots of research - it's really interesting!
You can use a USB keyboard encoder (such as used for making MAME arcade boxes) to map all the buttons and switches to keyboard shortcuts for whichever control software you choose, allowing you to use them easier with a more modern computer. The original QUERTY keyboard probably has a serial connector, which you motherboard may or may not have. I think programming a job using those keypads would be akin to blackboard screeching while receiving water torture, but mapping them to keyboard shortcuts for whichever CAM software you use may be cool. The jog buttons should be trivial as they can be mapped to the arrow keys and PageUp/PageDown.
I also think Mach3 is an "easier" route to go due to the larger installed base if you want to just "dive in" right away. I've installed it in a dozen or so computers and it just plain works. Though I suppose I've been a bit fortunate as well.
I would also forgo the center tap on the steppers and run them as bipolar series, as you'll have more available torque overall; as mentioned by another person, the permanent magnets on these round steppers are not so permanent, so that may help regain some torque that may have been lost. Stepper drives are very inexpensive nowadays, and have more robust features such as higher microstepping, electronic mid-band resonance damping, adjustable current settings, and idle-current-reduction to keep the steppers running cooler at stand-still. The only thing that may be tough is getting the LCD panel to synch with the controller software.

It is a cool toy. It does mill. Here I was testing linuxcnc
Backlash comp enabled\disabled
Get some decent bipolar drives and play with it. It is what it is
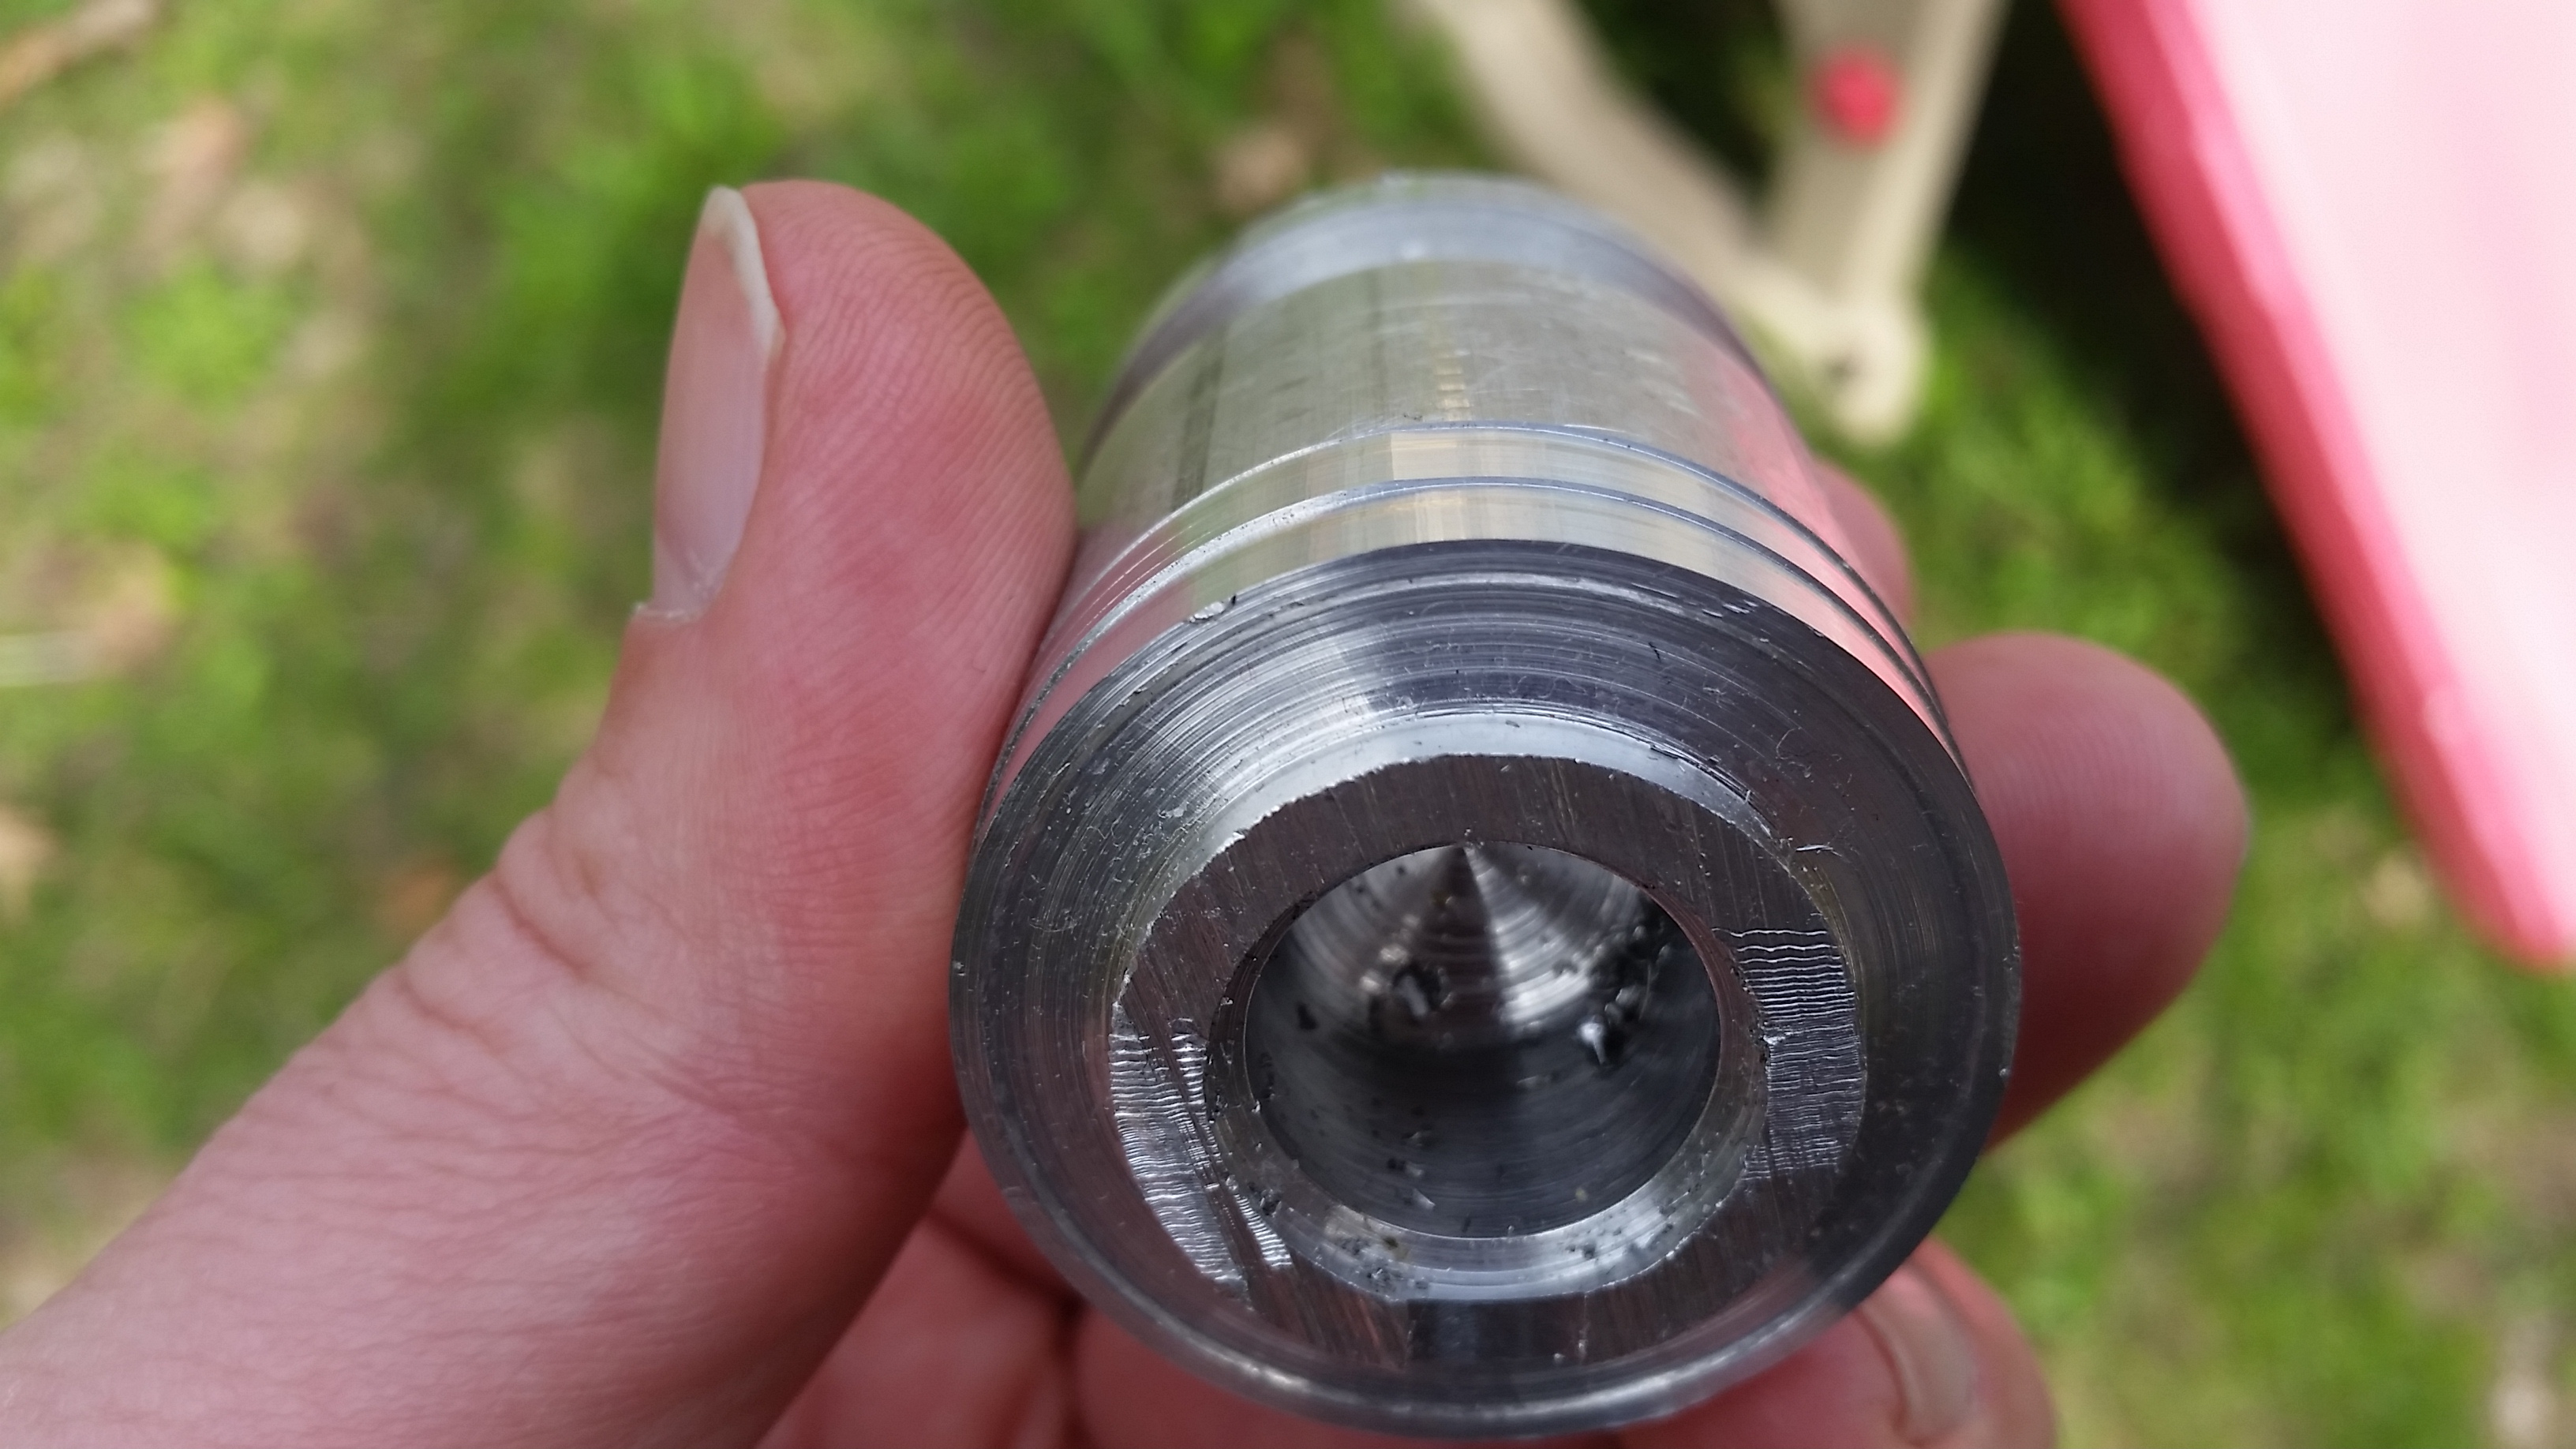
Can you describe what we are looking at? What should I pick out from the picture?Originally Posted by samco

THANKS!
Dennis
Upper is backlash (0.005" iirc)
Lower is with backlash enabled in linuxcnc